Resin
Some of the things resin is used for:
Coating wood crafts
Furniture coatings as a protection
Stone surfaces such as granite and marble are often coated with resin. This protects against damage and stains.
 Jewelry - make a mold and pour liquid resin in and voilá!
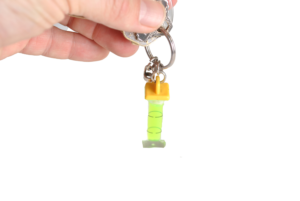
…as well as keychains, smart phone covers,
Resin figurines. From Warhammer to Christmas decorations to children’s toys. Miniatures. Almost any statue or sculpture that one can imagine. One just has to make a mold and pour in the liquid resin. Then paint to your liking.
Your crafts, Warhammer or statues could be made from more than one of the resins listed below. Warhammer figurines for example would use the polystyrene resin for molds.
Resin Figurines come in all shapes and sizes.
Types of Resin
I’ve tried to give a short description of different types of resin here. Most websites are very technical and if you want something more detailed, you can search them individually.
Your crafts, Warhammer or statues could be made from more than one of these. 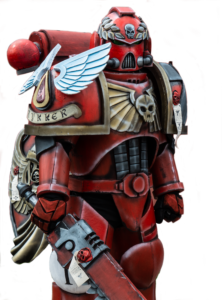
Warhammer figurines for example would use the polystyrene resin for molds.
All of the resins listed below are referred to as ‘thermoplastic polymer resins’.
Here is a great definition of ‘polymer’ from livescience.com:
“Polymers are materials made of long, repeating chains of molecules. the materials have unique properties, depending on the type of molecules being bonded and how they are bonded. Some polymers bend and stretch, like rubber and polyester. Others are hard and tough, like epoxies and glass.”
The word polymer comes from the Greek words: ‘many parts’.
AND ‘thermoplastic’ is a type of polymer that can be softened through heating and then processed either as a soft solid (such as through thermoforming) or as a liquid (such as with extrusion or injection moulding).” from twi-global.com
Polyester Resin
These resins are oft used in the marine industry due to their improved water resistance. Used for laminating. Will gel on their own if left for a lengthy period.
Acrylic Resin
 Can be repeatedly heated and shaped. It is combined with different components, often including a hardener, to achieve this.
Alkyd Resin
Is an organic polyester resin. Fatty acids and other compounds are added. Used as the film forming agent with paints and clear coatings.
Used with paints and varnishes, makes these more durable thus making them best for exterior coatings.
Polyamide Resin
A thermoplastic (thermo=heat) like nylon and Kevlar that, like Acrylic resin, can be formed and reheated and melted without losing their innate characteristics. The chemical compound remains the same when hardened. It’s transparent finish also makes it suitable for exterior coatings, paint and varnish. Water resistant.
Polycarbonate Resin
Again, a thermoplastic, which can be formed, heated and reformed without losing basic chemical properties. You see this type of resin all the time: prescription lenses, face shields, headlight covers on cars, streetlamp, skylights, water bottles, blenders, etc.
Polyethylene Resin
Similar to polycarbonate resin in that it can be formed, then remelted keeping inherent characteristics. That is, the heating and reforming doesn’t change the chemical make up. There are different types. Common uses of this type of resin are, milk and water jugs, plastic bags, plastic wrap for packaging. This type of resin is the most difficult is not impossible to glue.
Phenolic Resin
Originally named Bakelite, this is one of the most versatile of the resins. Can stand extreme temperatures. Examples of use: billiard balls, counter tops, circuit boards. And as many other types of resin, can be used as coatings or laminate. Brake pads and shoes and other cars parts are also made from this, partly due to the extreme temperature tolerances.
Polypropylene Resin
You see this one every day. It is used for fibre optics, to make carpeting, plastic containers, lab equipment as it has a high heat tolerance and is even used in paper products. Because of the high heat tolerance, products made from polypropylene can be put in the microwave or dishwasher.
These plastics, when used for food or similar packaging do not leech into the food products.
Epoxy Resin
This one is what is used for all sorts of crafts, table tops, etc.
Comes as a liquid and can be poured into molds onto a flat surface. They then go quite solid. Resulting in a rich gloss appearance. Will set up completely clear unless colours are added.
Polystyrene Resin
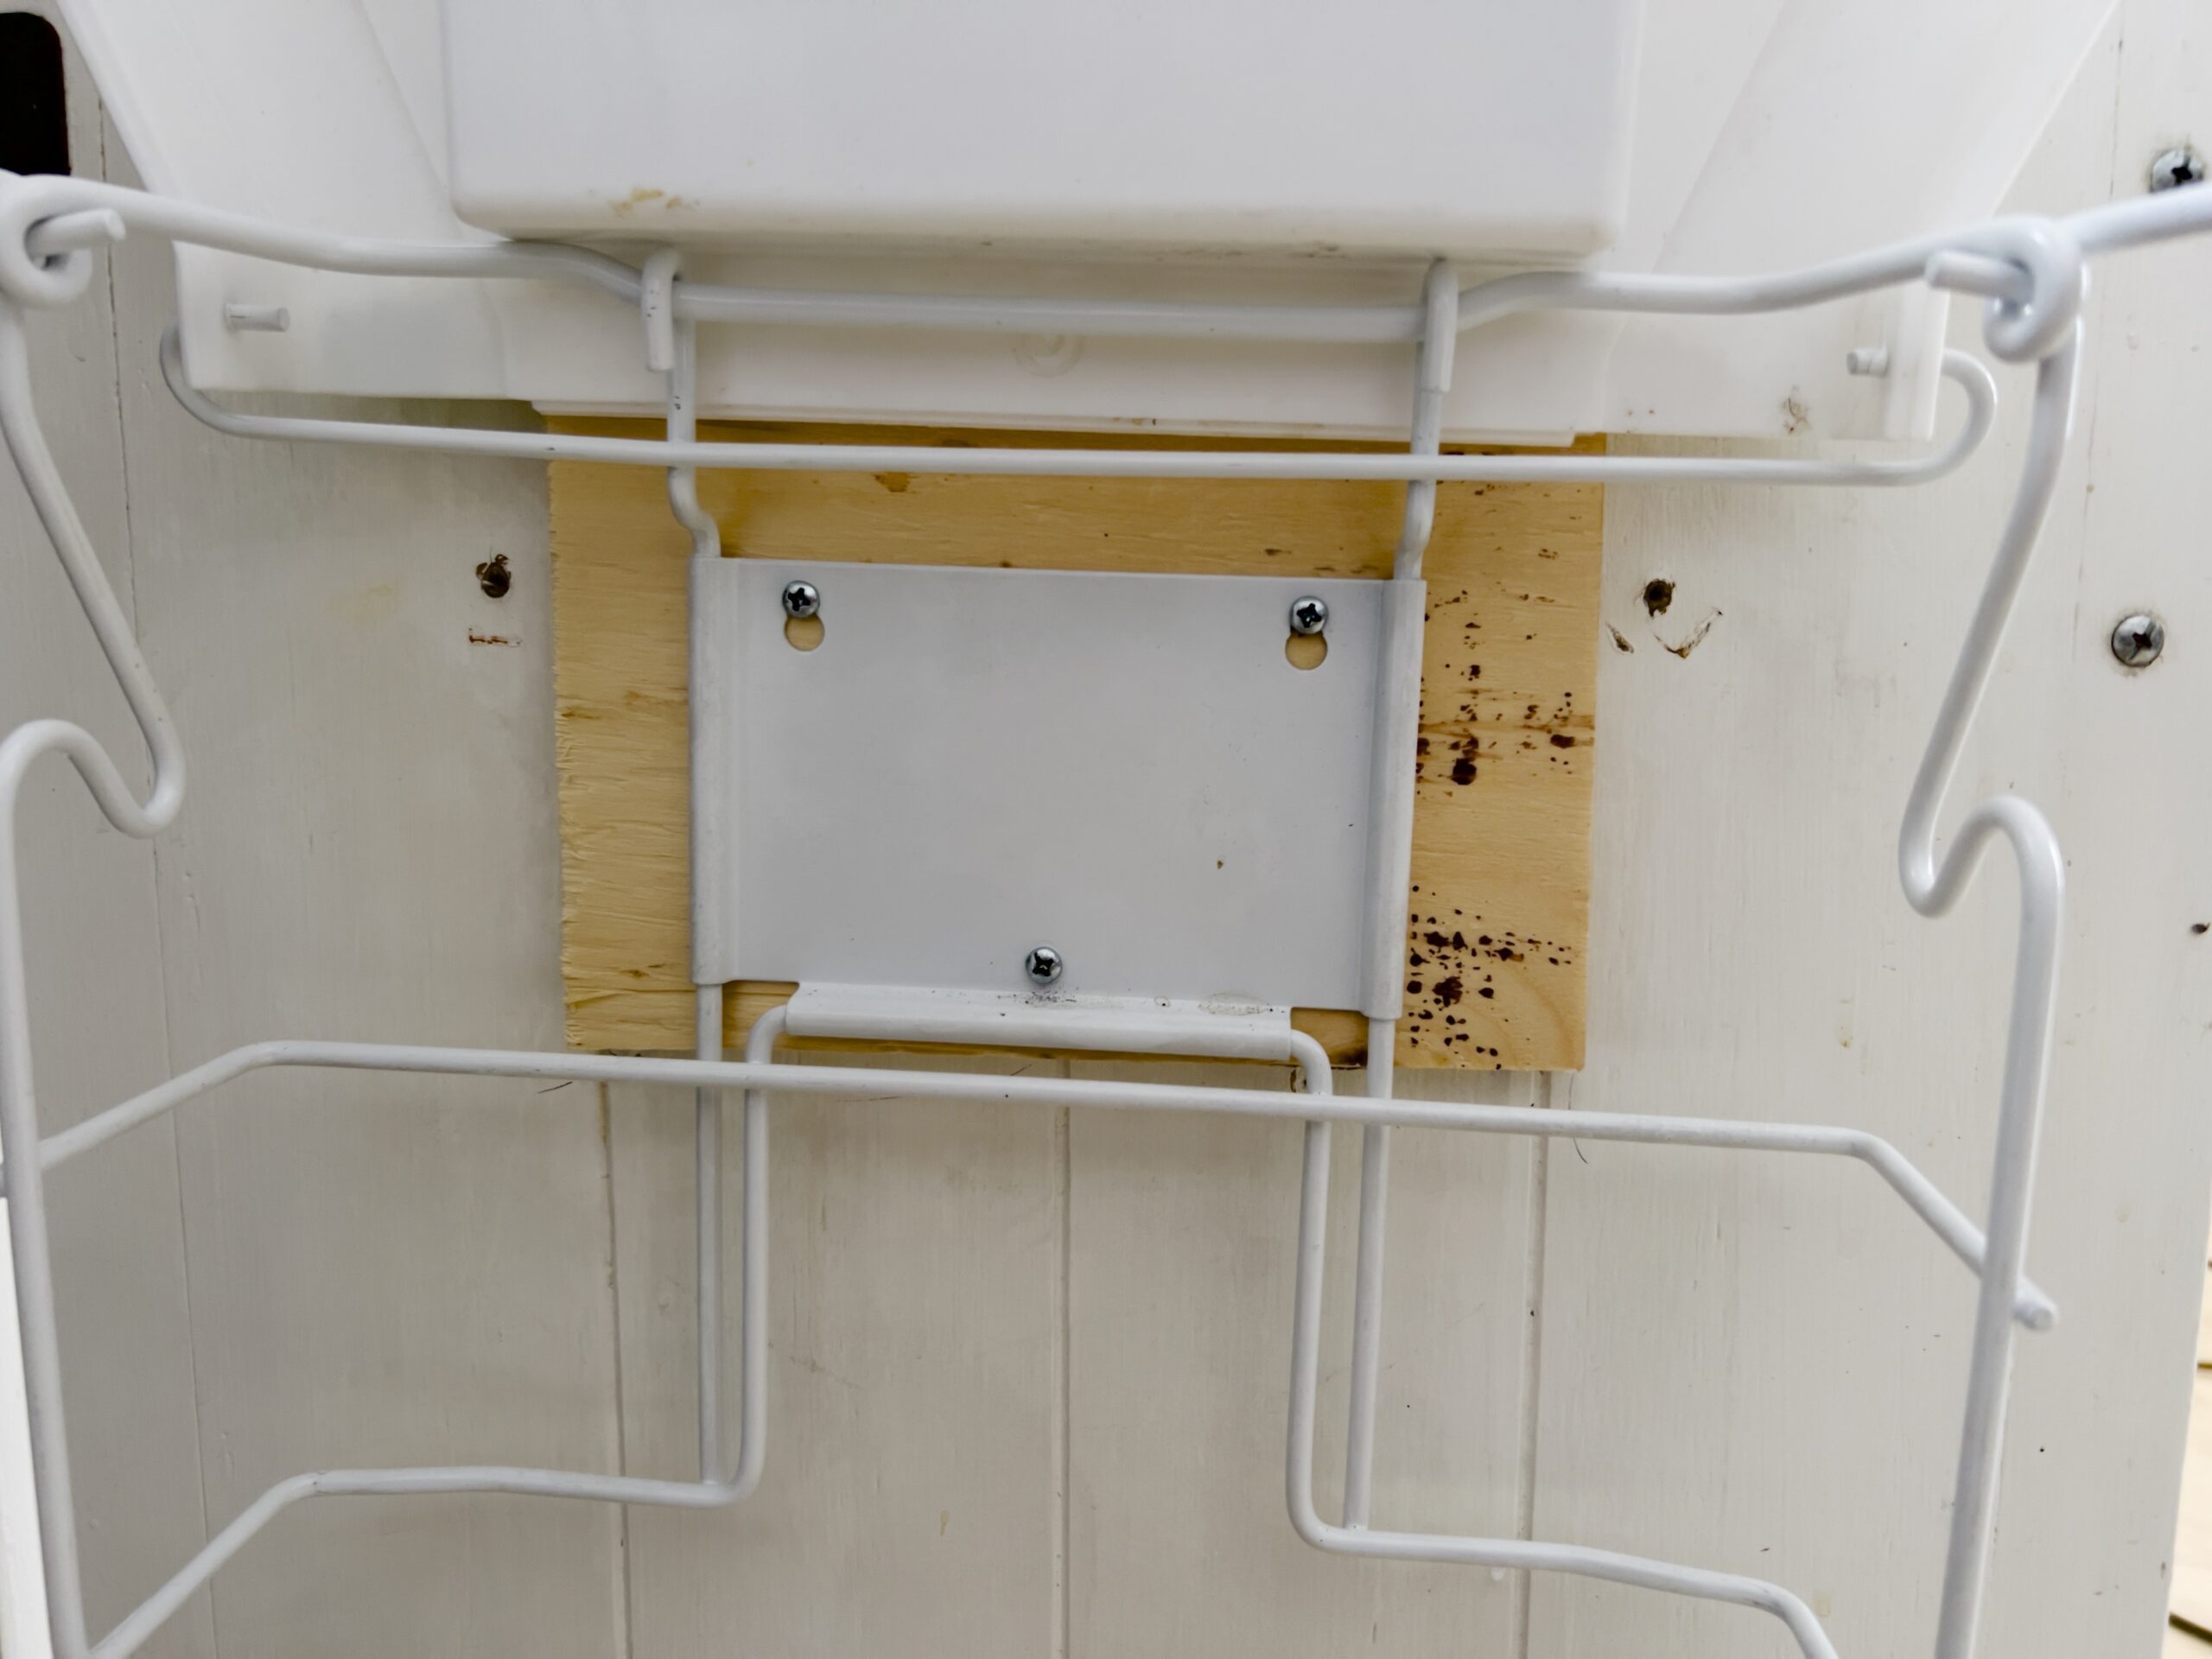
The plastic on the inside of your refrigerator is made of this type of resin. Great insulator, it is used in electrical components as insulating panels. Plastic razors, styrofoam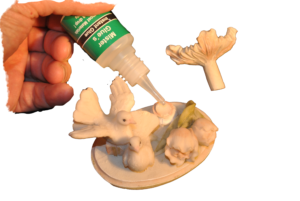 cups, packaging inserts.
And it is recyclable.
Has low softening temperatures and wears well, which is why it has so many different uses.
Silicone Resin
A very stable resin used often as binders in paints and varnishes. Excellent heat resistance and being water repellant often used for coatings.
Used as molds for crafts such as jewelry and other decorations.
If you want to get way more technical information on these different types of resins, check out www.thomasnet.com
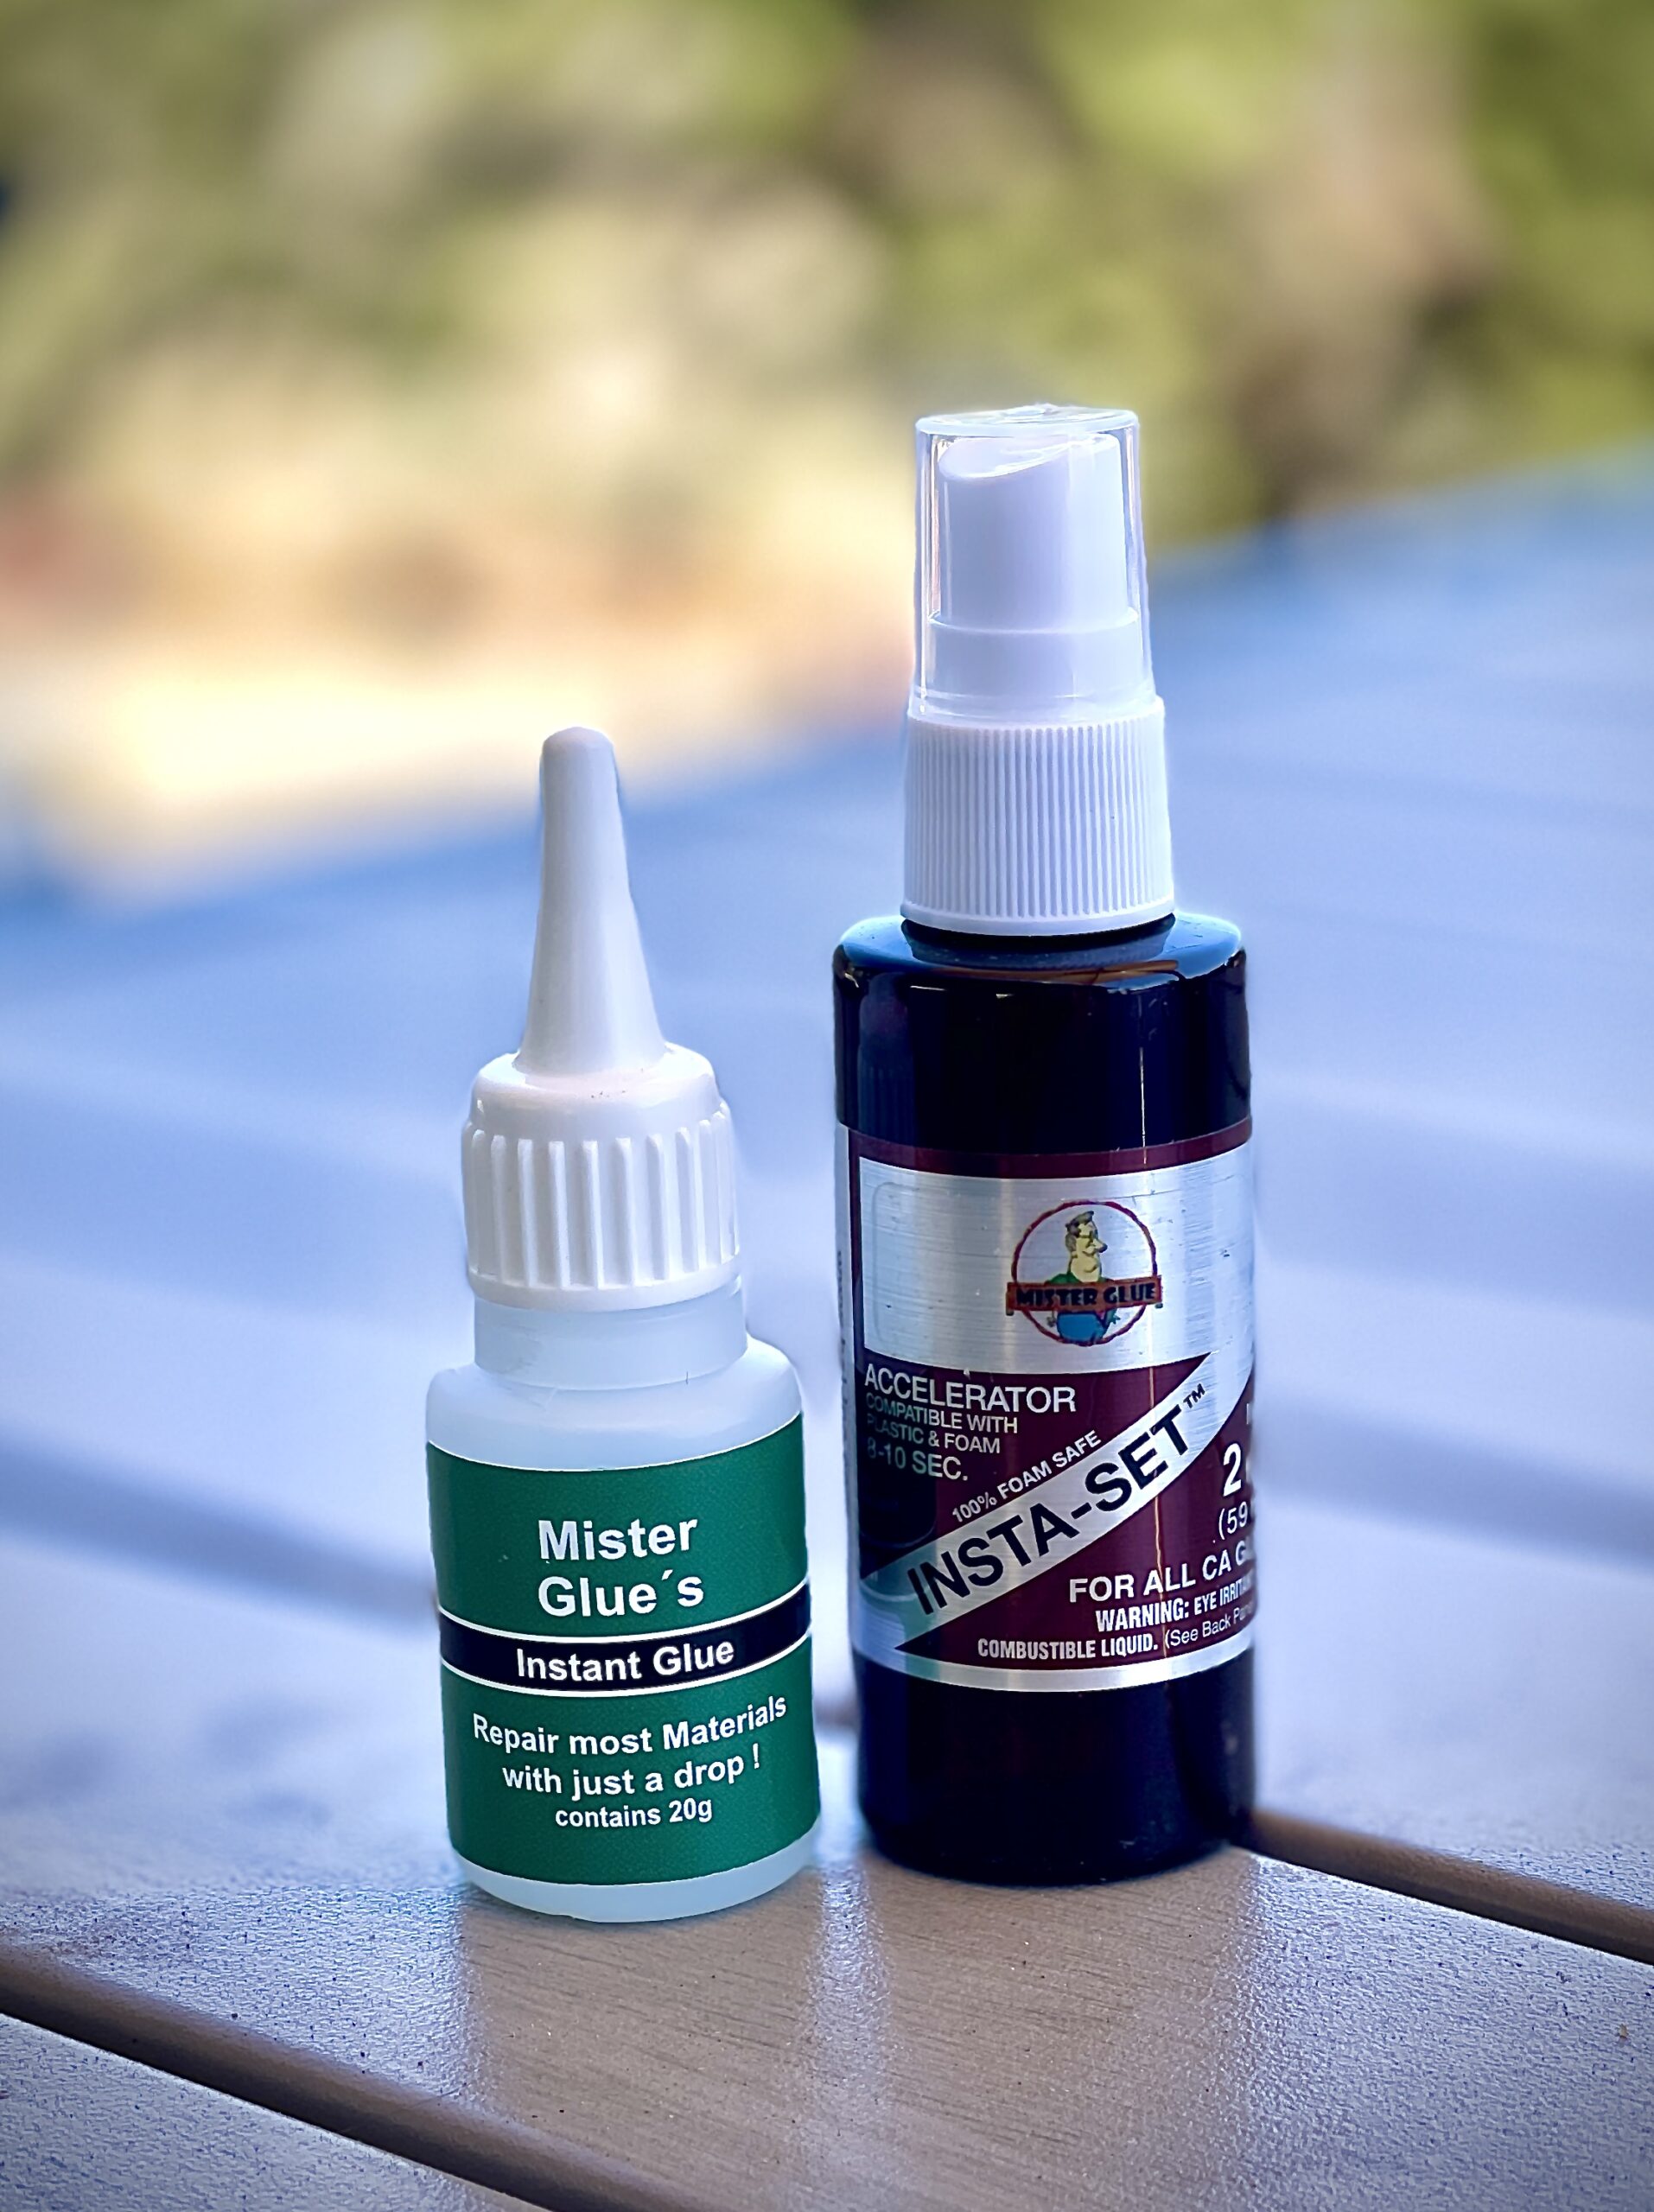
 wanting to forestall them coming out again, I also put a touch of Accelerator on one side first. The Accelerator is not absolutely necessary in this instance. I've just used it here as demonstration.