Martin

Resin Figurines

Resin Figurines

Warhammer, Warcraft, Miniature Dollhouses, Miniature Trains, etc

If you work with miniatures that are made of resin, you will at some time or another need a decent method of repairing broken bits.  I’ll share a video I’m working on this blog and likely Youtube in the next little while. Repairing a couple of resin figurines.

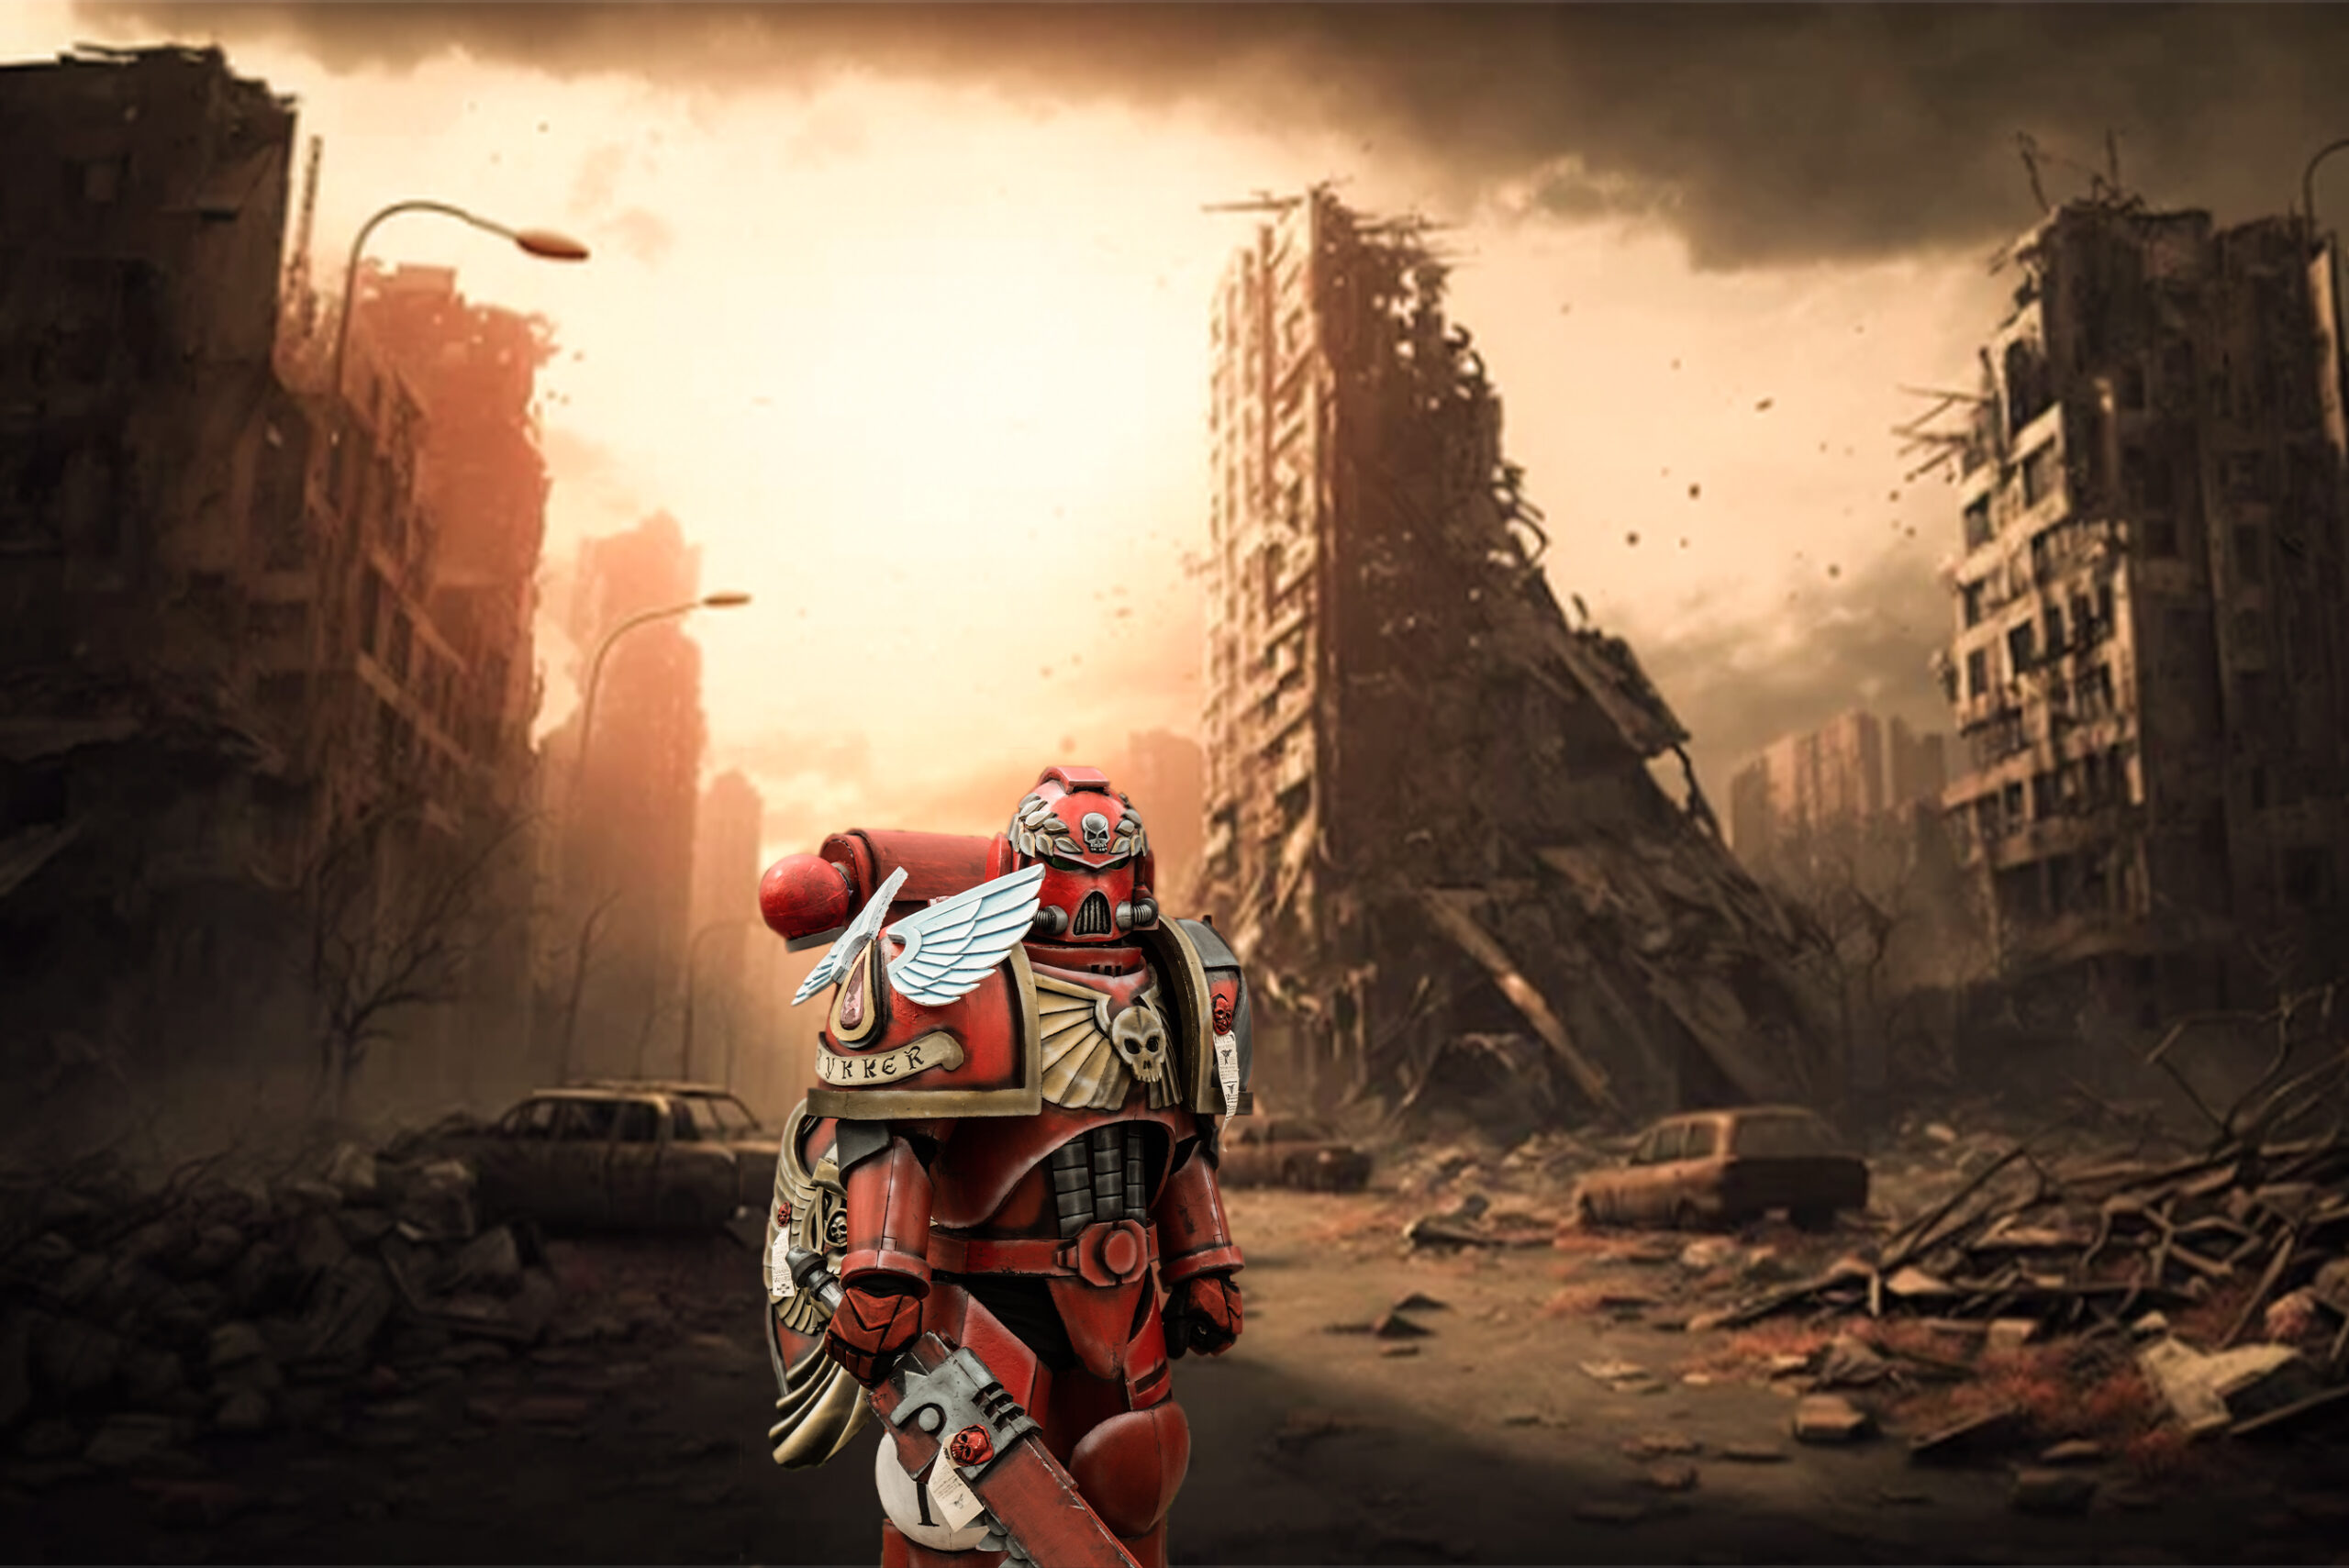
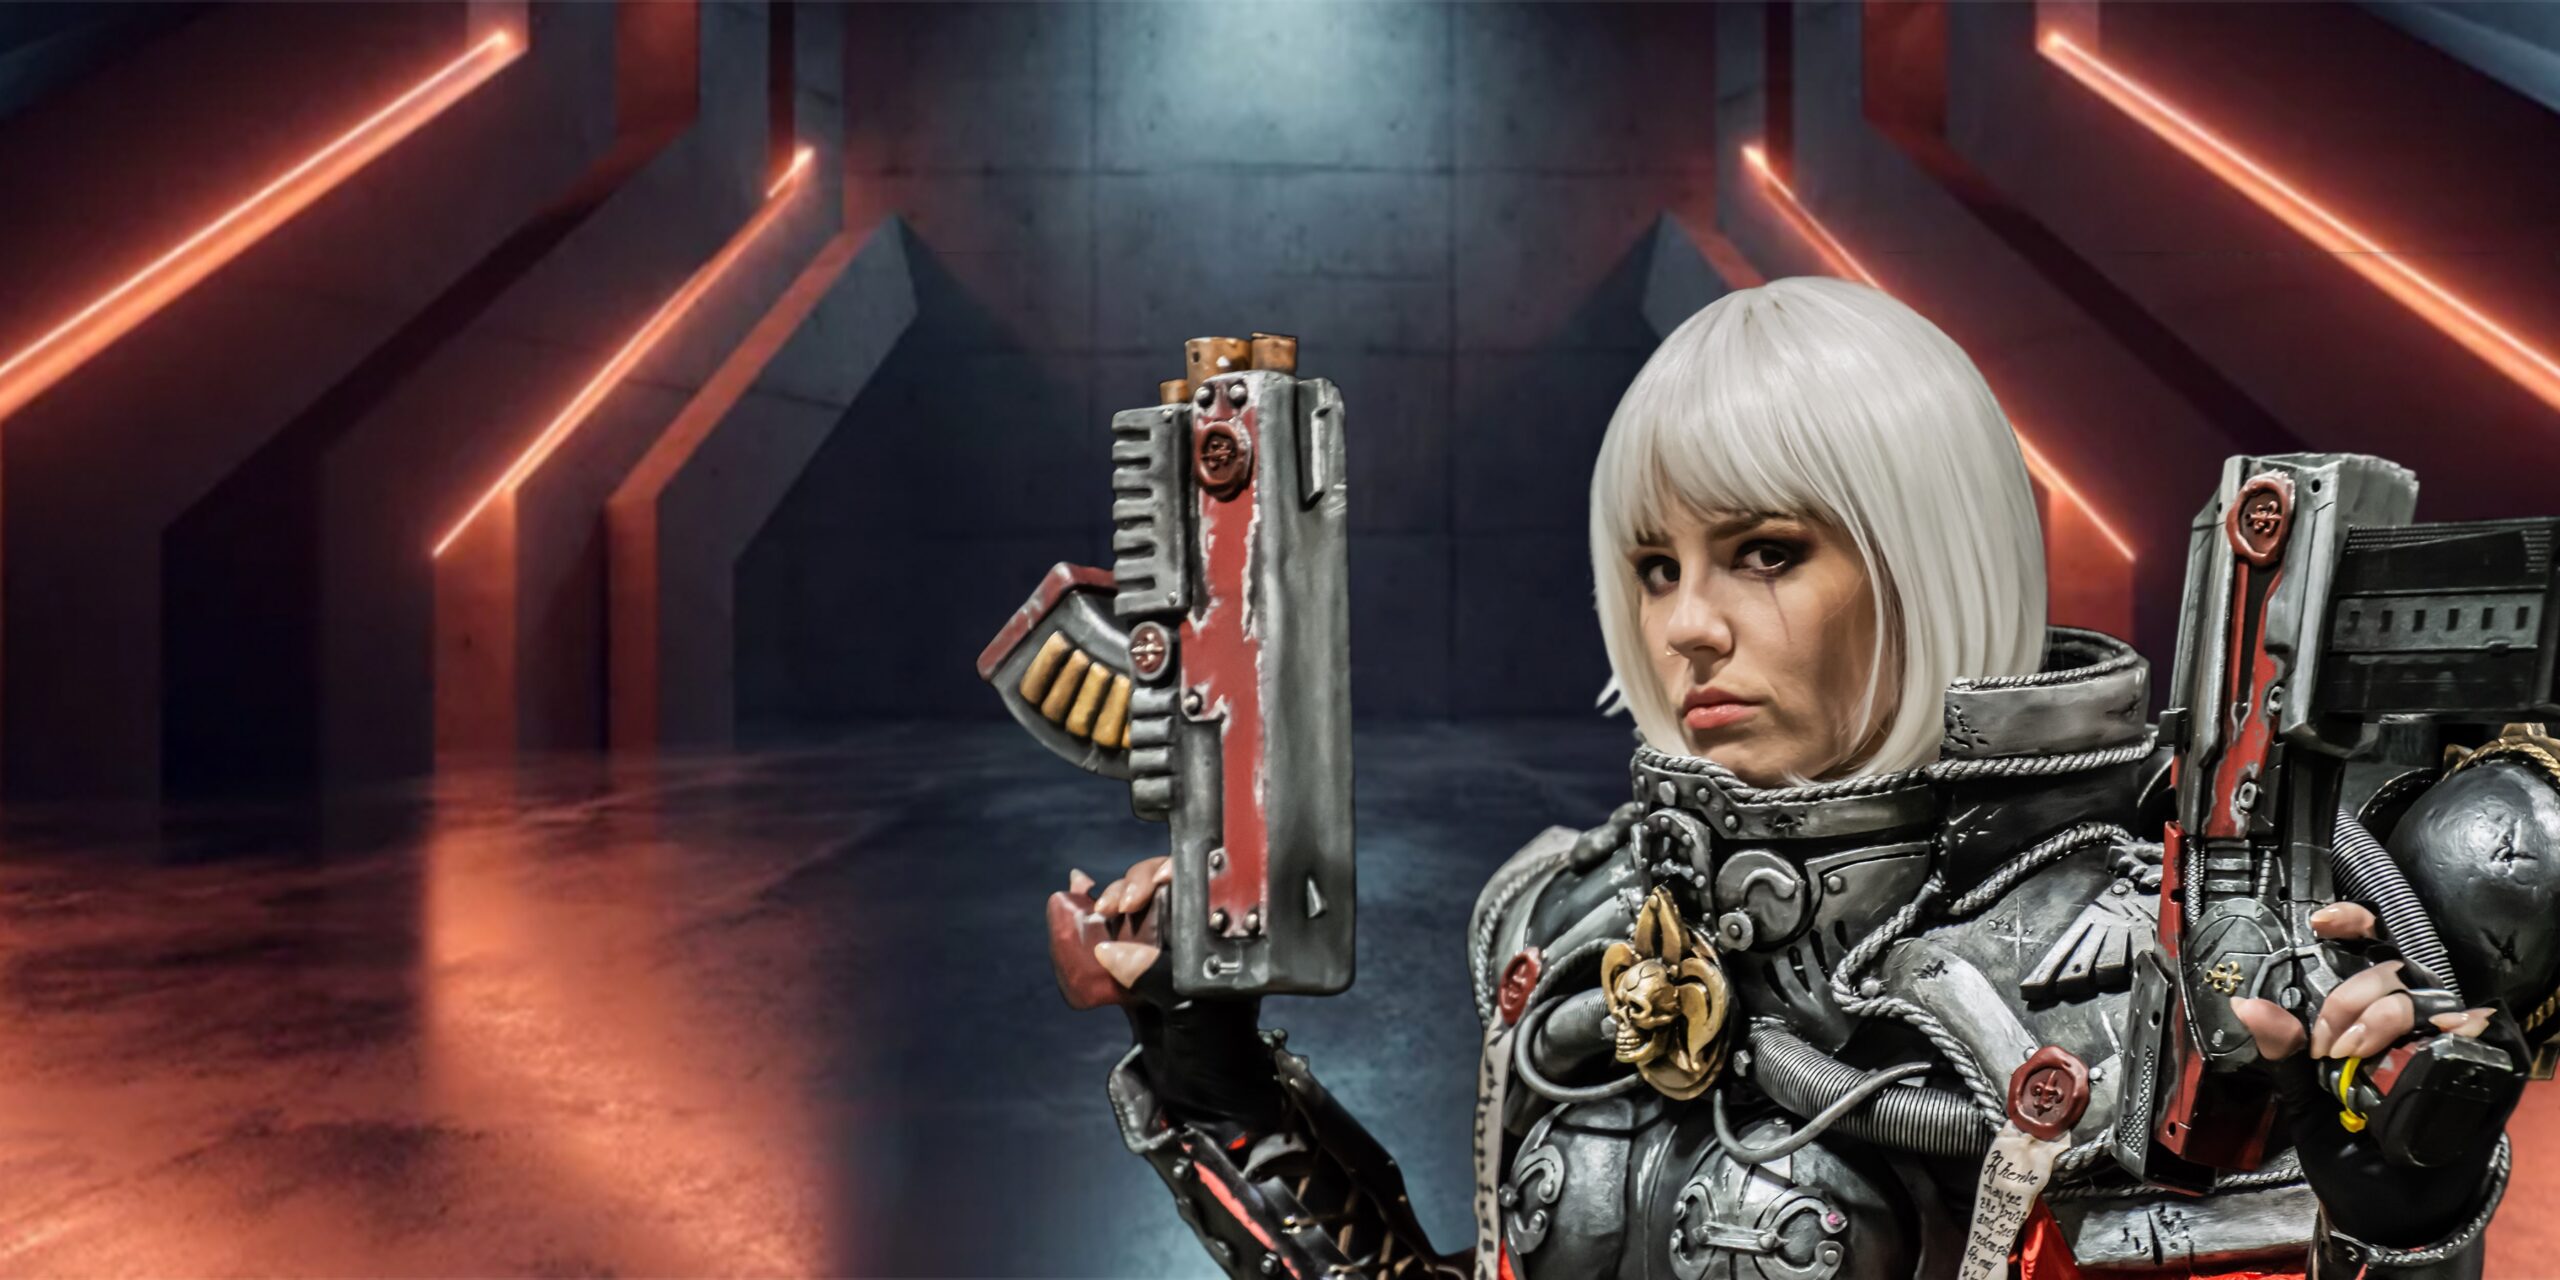
In the meantime I’m displaying some of my photography.  Comic Con events are great for people imagining real life forms of the miniatures.  I honestly don’t know all the different worlds and references that go with all the costumes that I’ve photographed.  But the people that create and wear the costumes know those worlds and how to create appropriate poses. 

The background and lighting at most of these events are terrible for displaying photos.  I love how some photograph miniatures.  They show off their work well.  Lousy backgrounds can ruin a photo.  I’ve mainly photographed the bigger, real life versions. 

Enjoy!

The best package for resin repair is:
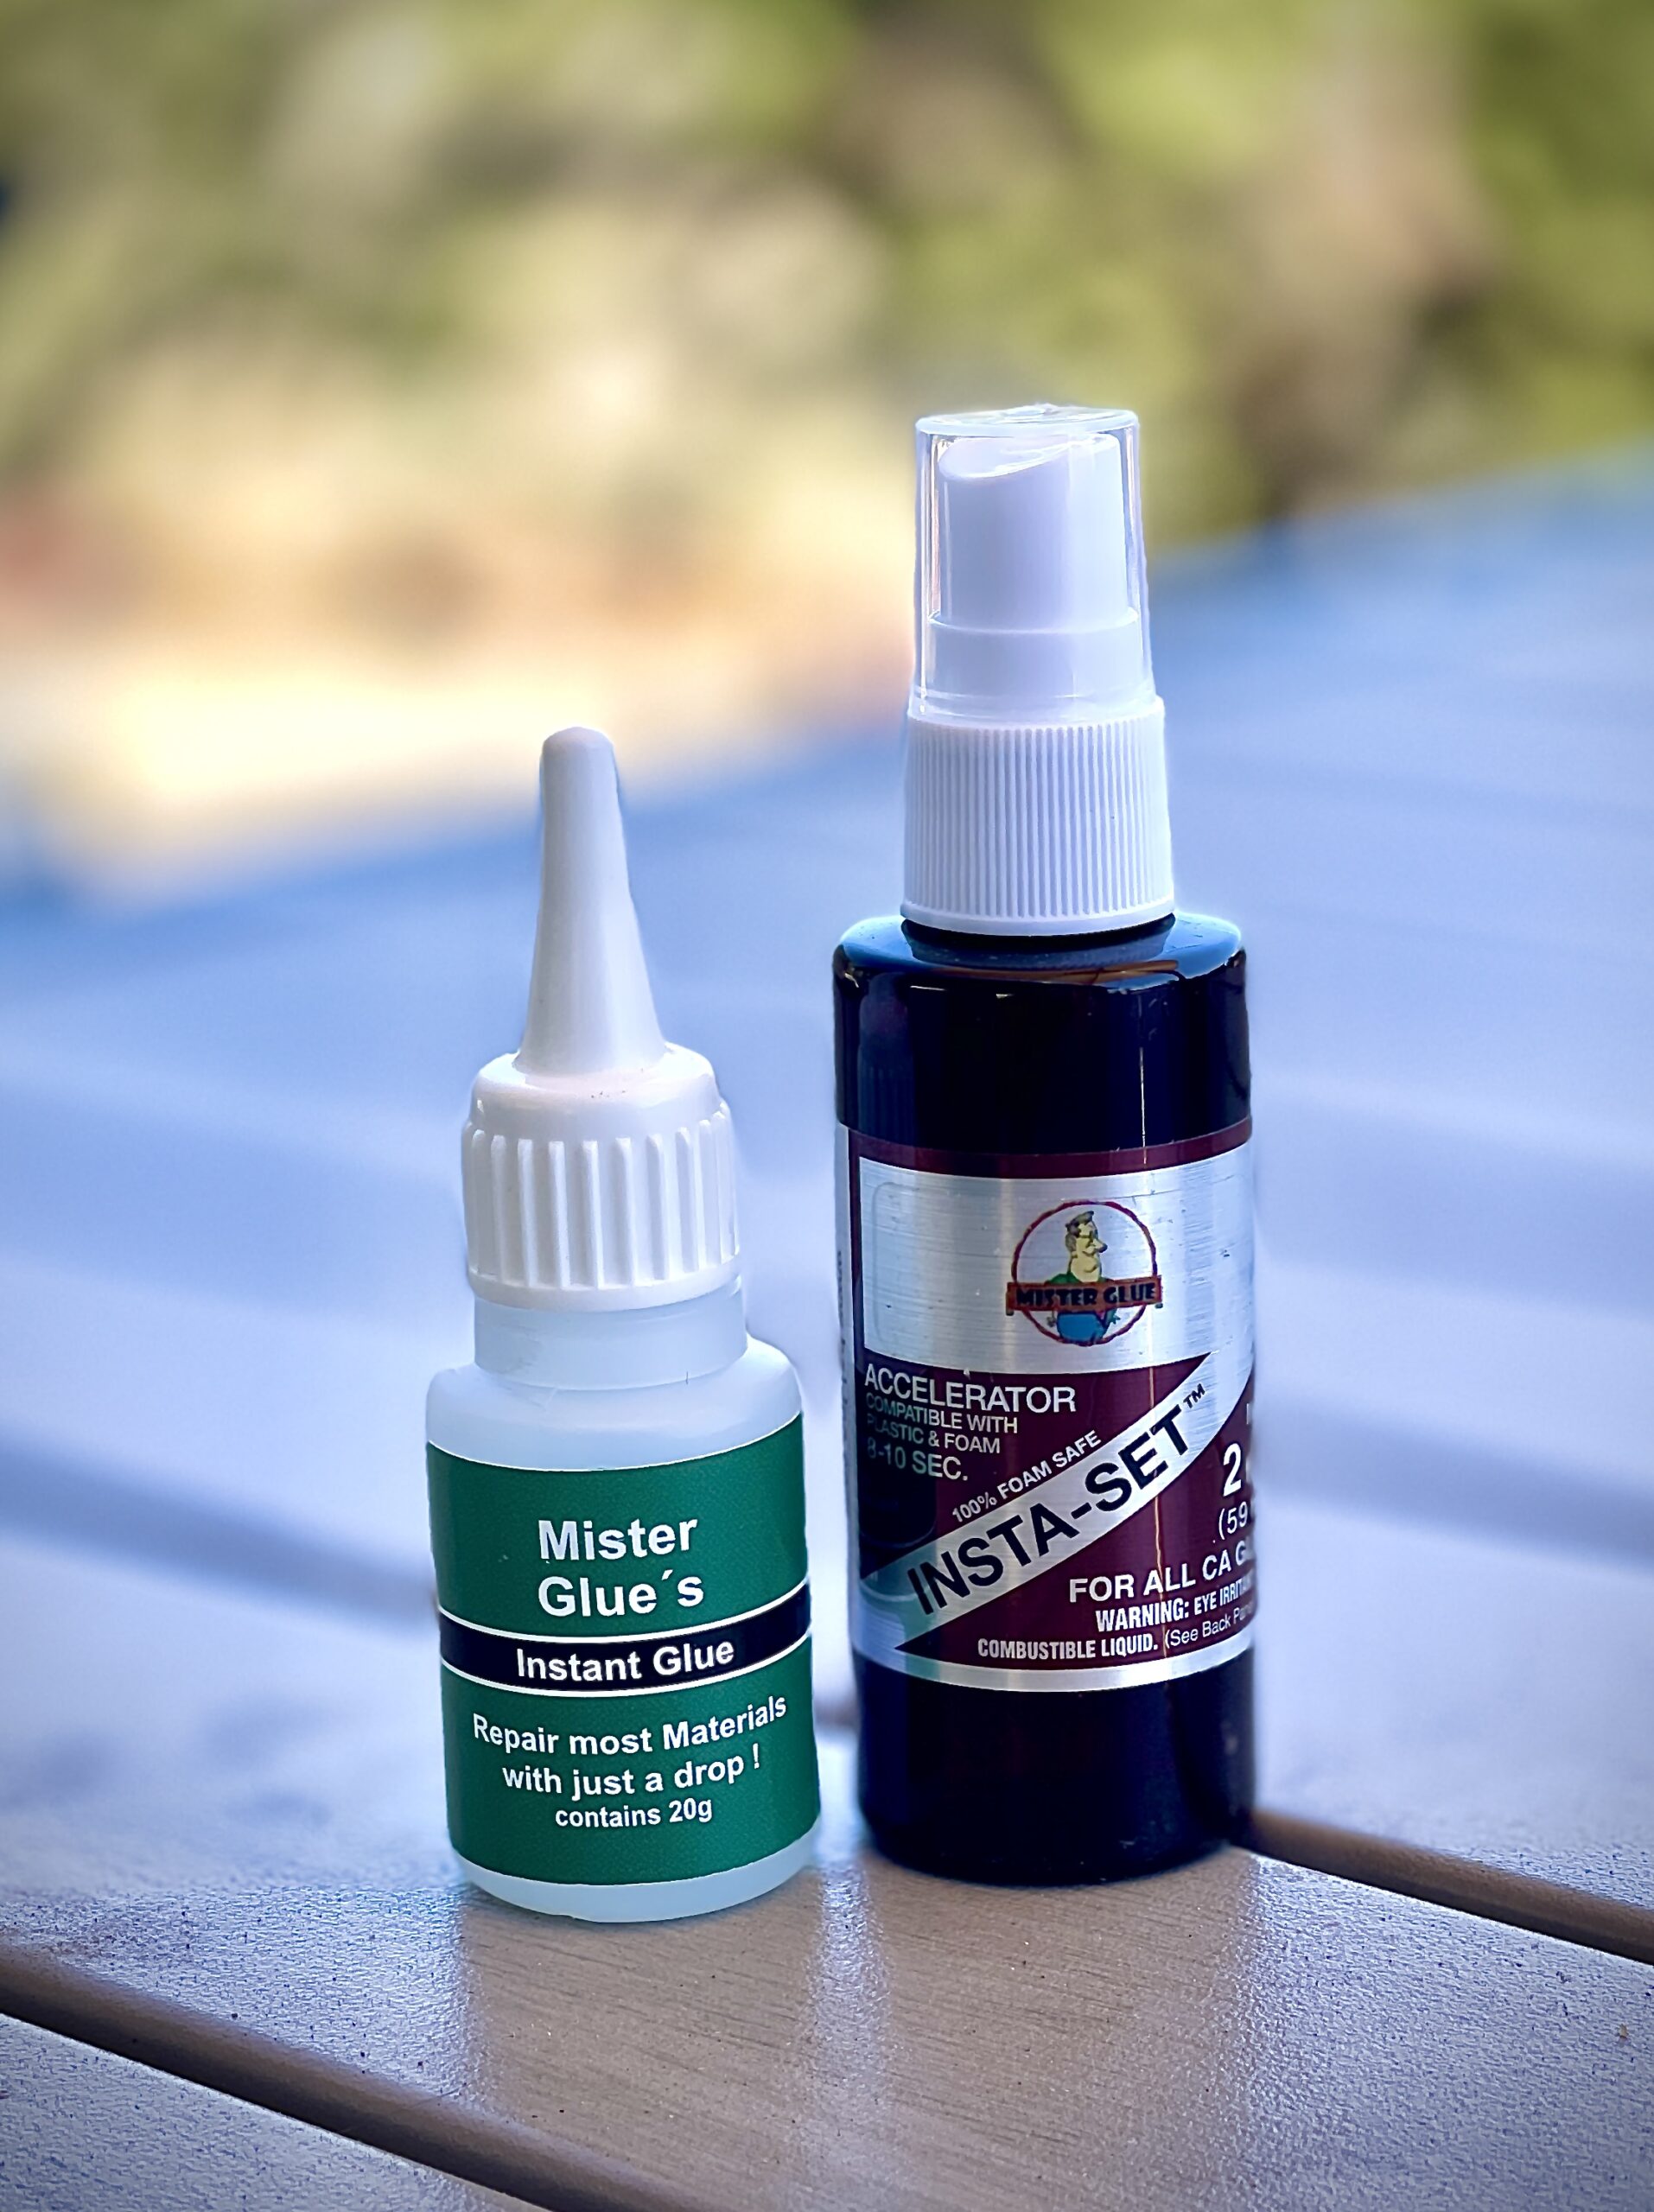
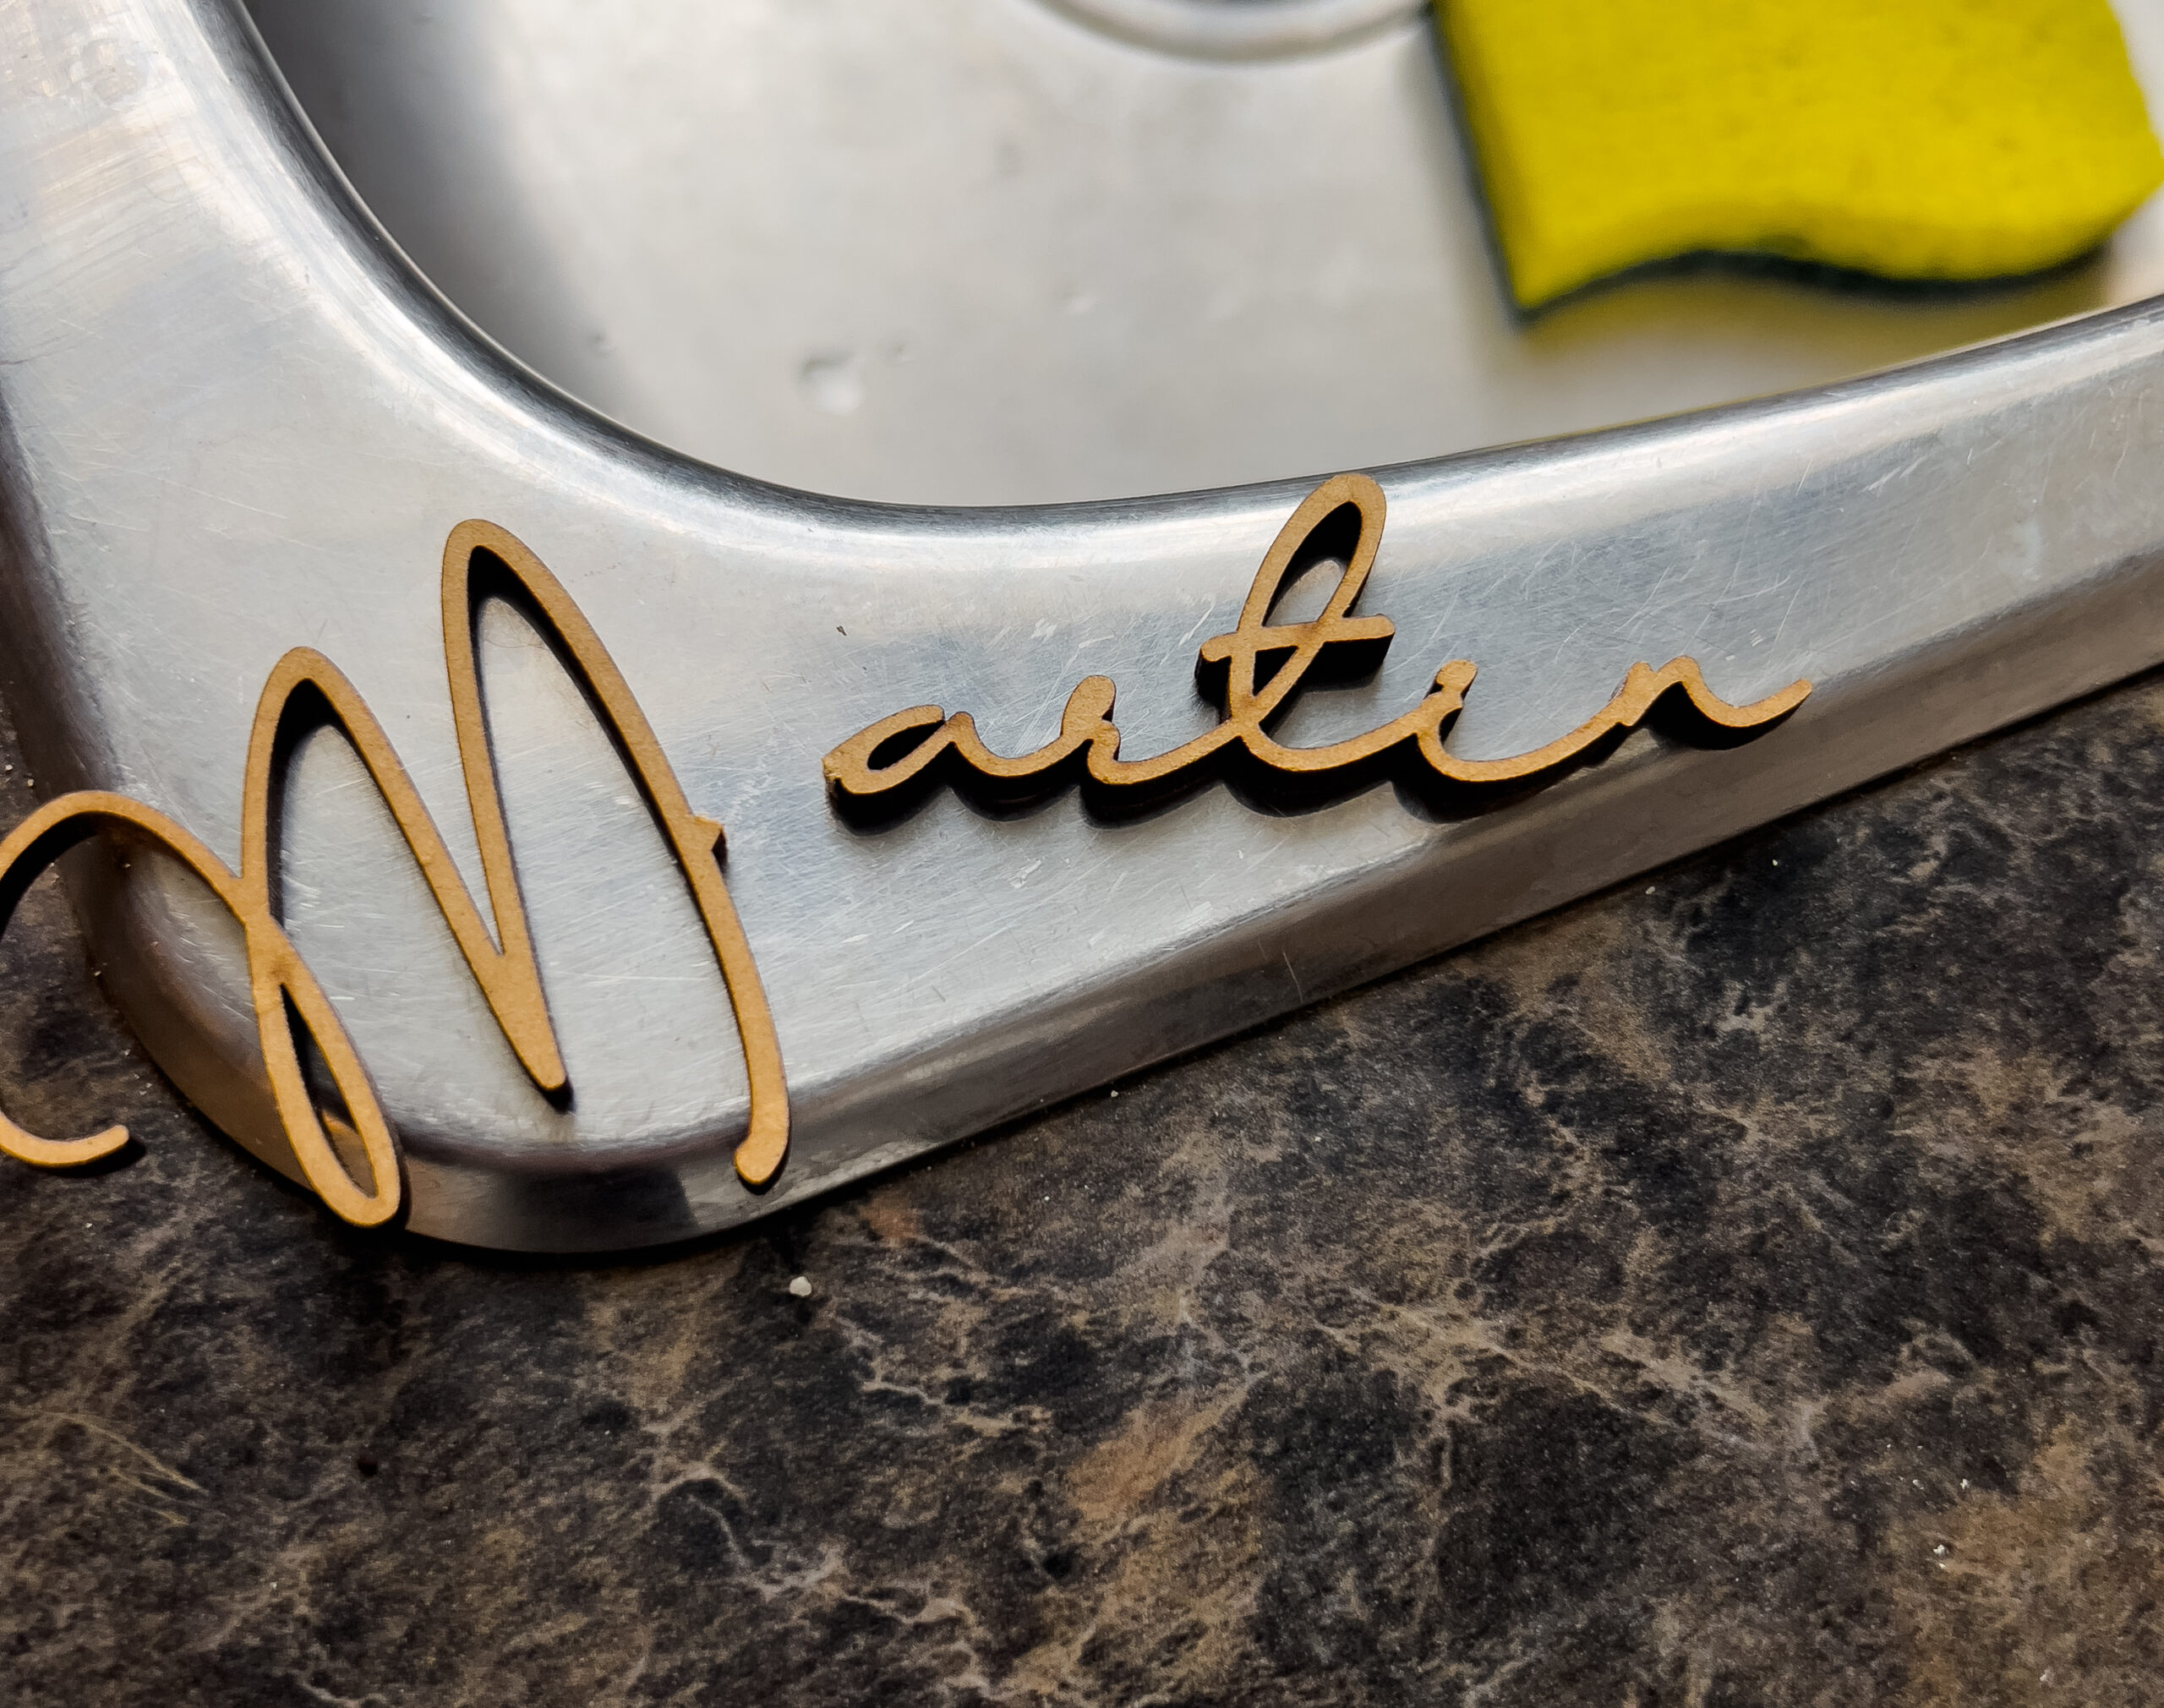
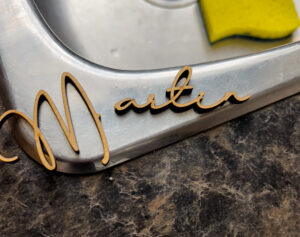
Combo Package 1(One Glue/One Accelerator)
Package includes one bottle of Mister Glue and One bottle of Mister Glue's Accelerator
Price: $34.00
Price: $32.00

More on glueing resin here.

Posted by Martin in blog, 0 comments
Classic Car Restoration Photos

Classic Car Restoration Photos

Classic Car, Hot Rod Photography

I’ve worked trade shows for years.  When I first started I was selling Mister Glue all over Oregon, Washington , Idaho and occasionally California.  Home Show, State Fairs, Wood shows but the ones I really didn’t want to miss were the Classic Car shows. 

Always great fun but the work that goes into these cars.  They really are works of art.  Pretty sure that many don’t see their money back spent so it’s lucky the work is done from the heart. 

And yes, many of these cars had bits of Mister Glue throughout keeping them together!

The photos here are from the Peach City Beach Cruise in Pentiction, British Columbia, Canada a few years ago.  Being an outdoor show the cars were well separated without barriers around them so the photos had less clutter for me to get rid of when editing. 

Editing the photos was done between Adobe Lightroom and Photoshop if you are interested.  I’ll likely post these on my photography website as well, if you are interested in taking a look:

Martin Glyn Jones Photography

Mister Glue can be used for repairing various rubber and plastic bit under the hood, the interior and outside.  When properly set and cured it is waterproof and flexible.  So, if you have that rubber piece that you can no longer get new, you can repair and it will stand the heat and oil and such in the engine compartment.

Check out the photos below:

Mazda RX3 Restoration

Check out this page where Steve talks about using Mister Glue while restoring his Mazda RX3

Posted by Martin in blog, 0 comments
Wood Scroll Repair

Wood Scroll Repair

Repair Wood Scrolling

One of the trickiest repairs to do.  Normally, Mister Glue does a marvellous job gluing wood to wood.  Bonding two surfaces in the case of wood scrolling you are usually dealing with the tiniest of surfaces

A couple of things to have your attention on. 

  1. One might be tempted to lay the two pieces on a surface to keep them steady as the bond is curing.  Odds are extremely high that the whole piece will end up thoroughly attached to whatever surface it sits on.  Rest wrists on something to steady things while you are holding the two pieces together.  It only takes a few seconds to set up.
  2. Use Accelerator.  The brush or spray, whichever you have.  Apply to one surface with the glue on the other (a very tiny bit of Mister Glue as the surface is incredibly small here) and give it several seconds before pressing the two surfaces together.  I always use Accelerator when working with wood.  Makes it even faster and an amazingly strong bond. 

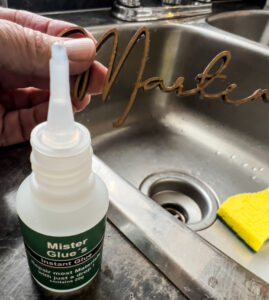
Once it has set, like I said this only takes a few seconds, set aside to fully cure.  The glue on the outside is likely dry enough at this point to lay the whole thing down but if you are unsure set it so the freshly bonded surface is not touching anything. 

That should do it. 

You can glue almost any two wood surfaces together with a combination Mister Glue and Accelerator.  You are likely not going to broad strokes, lots of yellow and white glue and clamps for this.  But if you need any kind of repair and/or just don’t want something coming apart try this combo.

This particular item was important to me as it was from my son's wedding.  My wife has a matching one.

You can use the 'Search' function for 'Wood' to the right ---->

or just click on this link.

Woodworking

There are several videos and articles on the website on the subject.

Posted by Martin in blog, 0 comments
Repair Ceramic Planter Video

Repair Ceramic Planter Video

Ceramic Planter Repair

Fairly recently we got a new kitten.  It has tons of energy and has kept me busy repairing things.  Luckily I have lots of glue.

There are several steps needed here gluing the bits and pieces of this planter back together. 

Step by Step

Honestly, this was not my best job ever.  I was a bit hurried and did not practice enough.  Thus, one of the joints is actually noticeable.  You don’t have a lot of time to mess around with this product (Mister Glue). It is extremely strong but also very fast setting

Clean the surfaces.  All you want to do it clean off any dust and debris.  In this video I used a can of pressurized air.  Same stuff you might use to clean your computer. 

Then try putting the two surfaces together. Practice. This is before you apply the glue or Accelerator.  Do it several times so you know the best way.  If you have several pieces, you may also want to figure the best sequence

In this case I had two large pieces which I glue on first.  Then there were three small pieces that I glued together into one.  Then I was able to attach that all at once. 

Important:

There are likely other things I do because I have used the glue a lot but this one is fairly important.  When you are running a strip of glue along an edge, don’t go past the point where it is going to be attached.  If you do that it will minutely add to the surface and the next piece won’t go in tight enough. 

You will see in the video that when I’m applying the glue I don’t go past the ‘corners’.

If any glue squeezes out the edges, just leave it and use a sharp edge to gently scrape off once dry. 

There is a lot more info throughout the website.  There is a search function and a FAQ (Frequently Asked Questions) page.  If you can’t find what you are looking for or an answer to your question, go to the contact page and email me.  Or you can comment. 

Posted by Martin in blog, 0 comments
Bouncy Pillow Patch Video

Bouncy Pillow Patch Video

Do you have leaks in your inflatables at the cottage?  Any water flotation device?  Water trampoline?  

Inflatables, Bouncy Pillows, Etc

Are you having to add air constantly because patches won't work?

Make sure the surfaces and both clean and dry.  Apply Mister Glue to one side only.  Press the two sides firmly together and hold.  Was a bit awkward with the bouncy pillow.  I had to let the air out and place a piece of wood underneath where the patch/hole was in the vinyl.  The hole was cut by a flying piece of roofing material (Oops!!).  The cut in the vinyl was about 10 inches long.  I put a square piece of plywood that extended a little past the length of the cut.  You can put the glue on either surface.  In this case I applied it to the patch as it was easier.  Pressing the two pieces together was a trick as my hands didn't cover the whole patch.  You can use another board or in this case I had another person help press the surfaces together.  It only takes a few seconds with vinyl. But I always caution with a little extra time.  Full cure time is several hours.  Also, you may have to put a drop here and there at the edges if the glue didn't squeeze all the way there. 

If you are repairing a water toy or floatation device, you might want to wait till tomorrow to put back in the water.  

It will dry flexible and waterproof.

Posted by Martin in blog, 0 comments