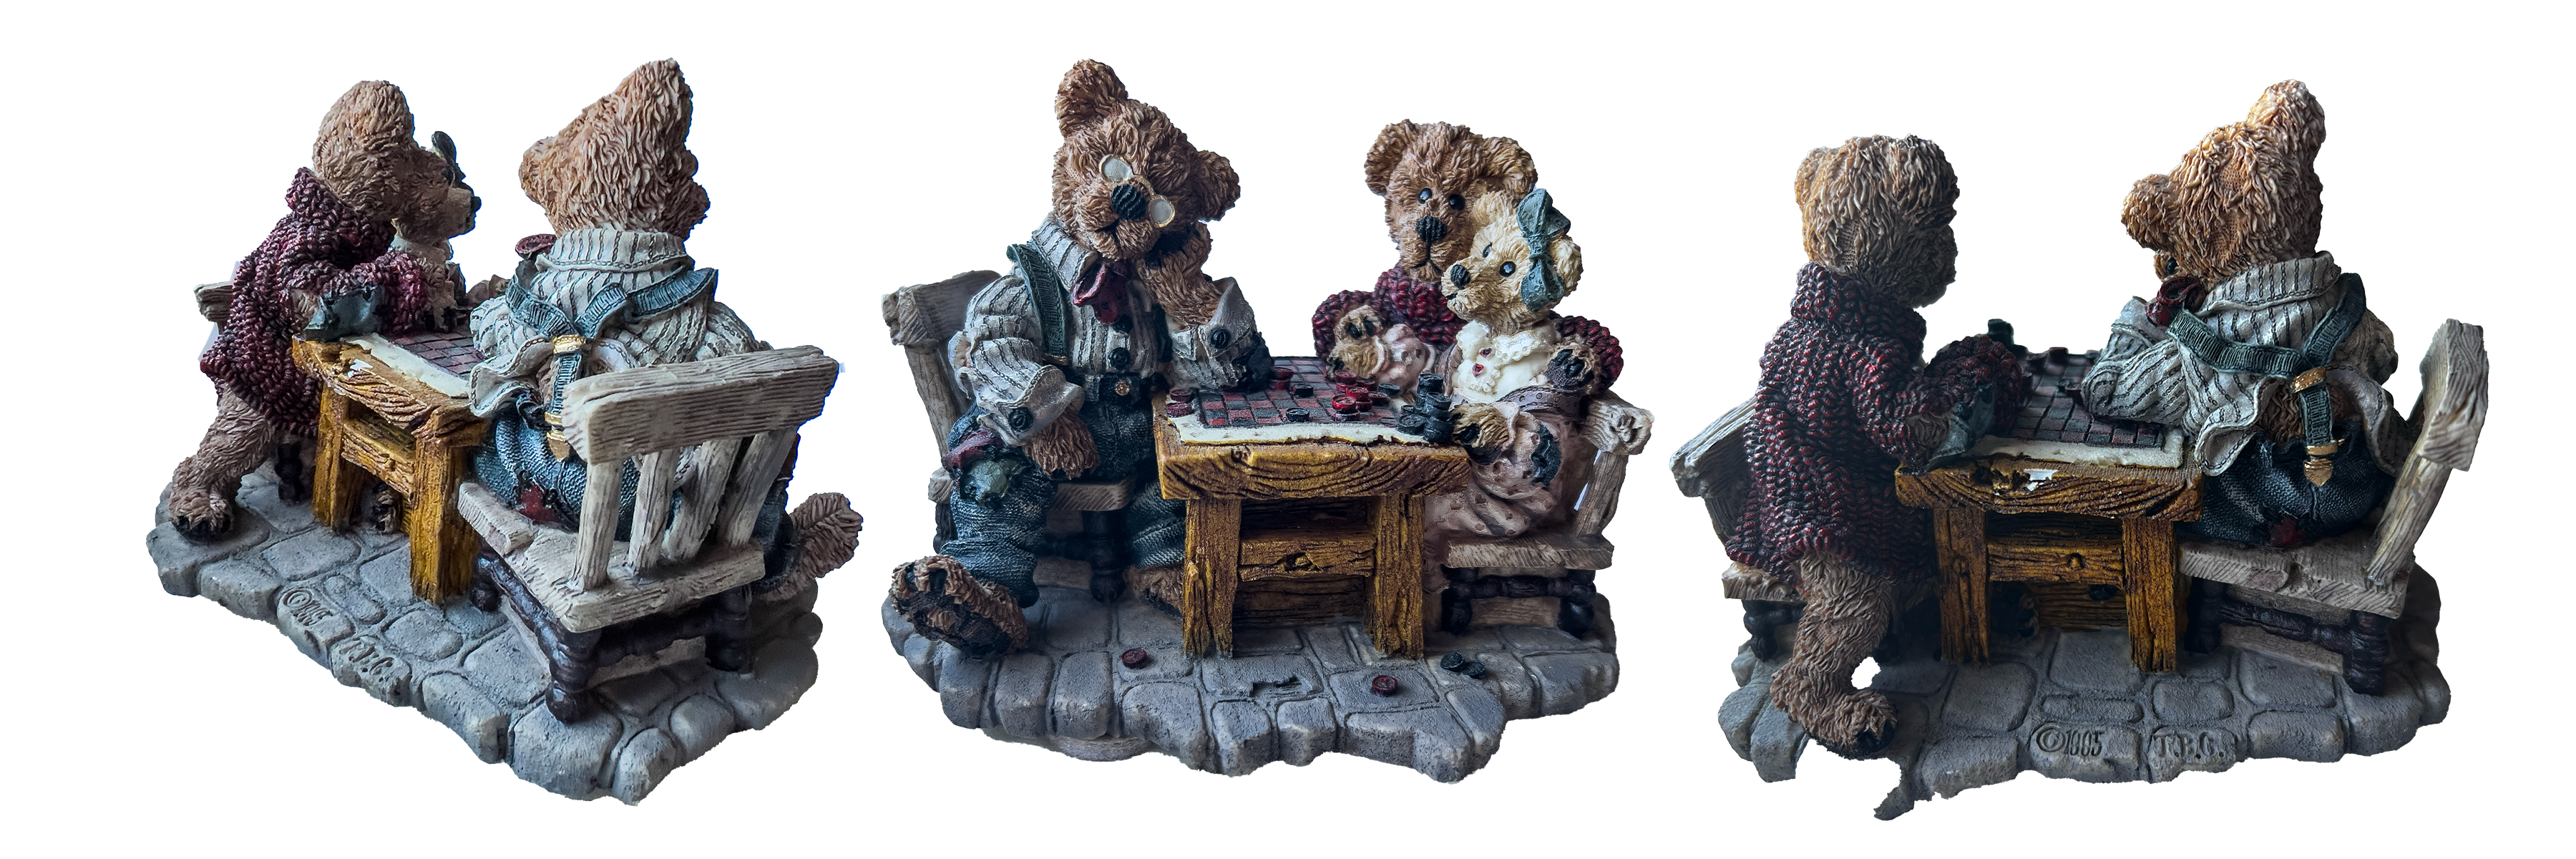
Resin Figurine: Boyds Bears
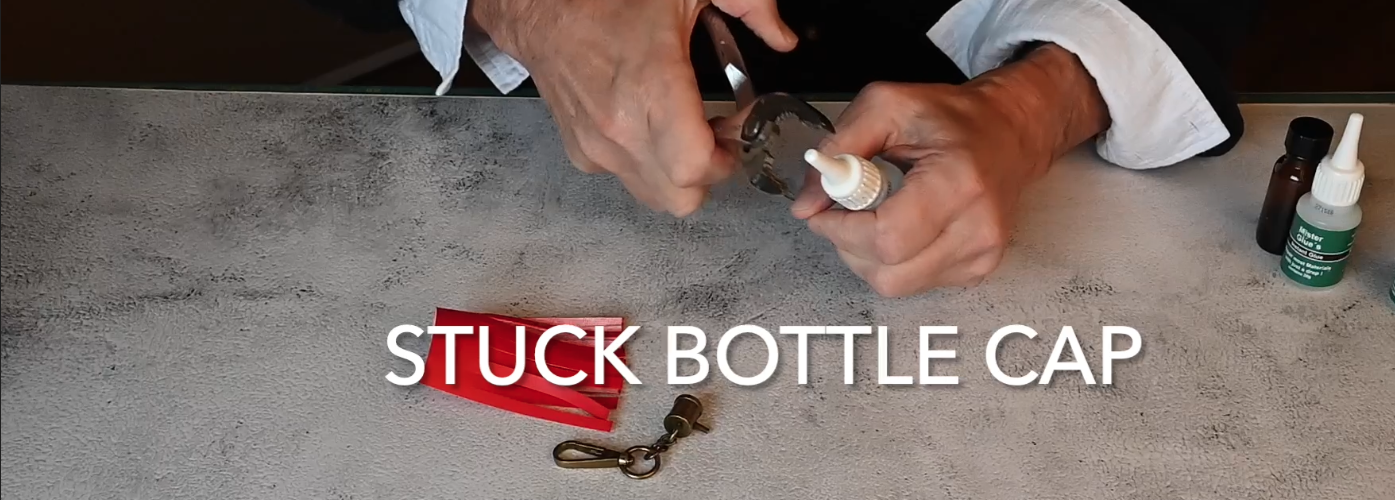
A small section had broken off this piece. With anything like this, resin, ceramic, porcelain and the like, practice putting the two pieces together first. Mister Glue is very fast and you ideally, want to get it right the first time. Apply a small bit of Accelerator (spray or brush) to one side first. Apply Mister Glue to the other surface. Then gently place the two sides very firmly together. In this case I held it for about 20 seconds After about 30 seconds or so, as you'll see, I was able to hold the whole item by the previously broken bit. Watch till the end and see.
If you would prefer, you can watch my videos at: Mister Glue YouTube