blog

Kayak Paddles Video

Kayak Paddles Video

Modify Kayak Paddles


Unbeknownst to us when we bought our kayaks, our paddles needed some modifying.  Both of us tended to grip the paddles right where the aluminum met the hard rubber toward the outside of the paddle.  I found some dense neoprene at an auto supply store and cut pieces to fit around that spot wide enough for any slight changes in grip.  One of the great things about Mister Glue is that it will not melt neoprene.  Many cyanoacrylates will.  When dried it also remains flexible and waterproof.  Short video below showing the procedure.

Buy Now!!

#misterglue

Posted by Martin in blog, 0 comments
Car Gasket Repair

Car Gasket Repair

Re-Attaching Metal Surround of Trunk Keyhole

We have this old Buick that my mother-in-law gave my wife as she was getting to old to drive it anymore.  It is a 1995 car and still has under 100,00 kilometres on it.  Make it about 65,000 miles.  Garage kept.  It is immaculate.  So let’s take care of it. 

The little piece of metal around the rear trunk keyhole came off.  The rubber gasket that was between the metal and the trunk just rotted away.  Fortunately it wasn’t lost on the road and we still had it. Didn’t have to go to a wrecker or some such.

In the video, I run through the whole process.  Cleaning the surface, cutting and fitting the new gasket, etc.  I’m using the Accelerator with Mister Glue. The gasket is pretty porous and I want to make sure that I get an excellent permanent bond.  

Once the glue is applied and the two pieces are pressed together it takes about 5-8 seconds to be completely stuck.  Get it right.  If you need, you could draw a small pencil line where you are going to place the metal piece.  That way you know you are putting in the right spot.

This will work for any rubber to metal.  If you have a trunk or door gasket come loose, no problem!  Stays flexible.  This glue is also waterproof, so once set and in place you don’t have to worry about exterior applications.  If you are working on classic or vintage cars of any sort, Mister Glue does an amazing job on cork or rubber gaskets to metal or any other material!

Watch the video and let me know if you have any questions. 

Enjoy!

Buy Now!!

#misterglue

Posted by Martin in blog, 0 comments
Laminate Flooring Video

Laminate Flooring Video


Attaching Stair Nose for Golden Select Laminate Flooring

We put new laminate flooring in the bedroom.  Finished it up yesterday.  It was time to get rid of the ancient broadloom; it wasn’t so healthy anymore.  We went to Costco and purchased enough of their Golden Select for the room and the two steps leading from the bedroom to the main living area.  

Laying in the floor was pretty straight forward; it was a little tricky getting the first two or three rows lined up properly but smooth sailing after that.  When we got to the doorway... I’d never done anything like this before so it took us a little to figure it out...get it cut correctly and slide into place.

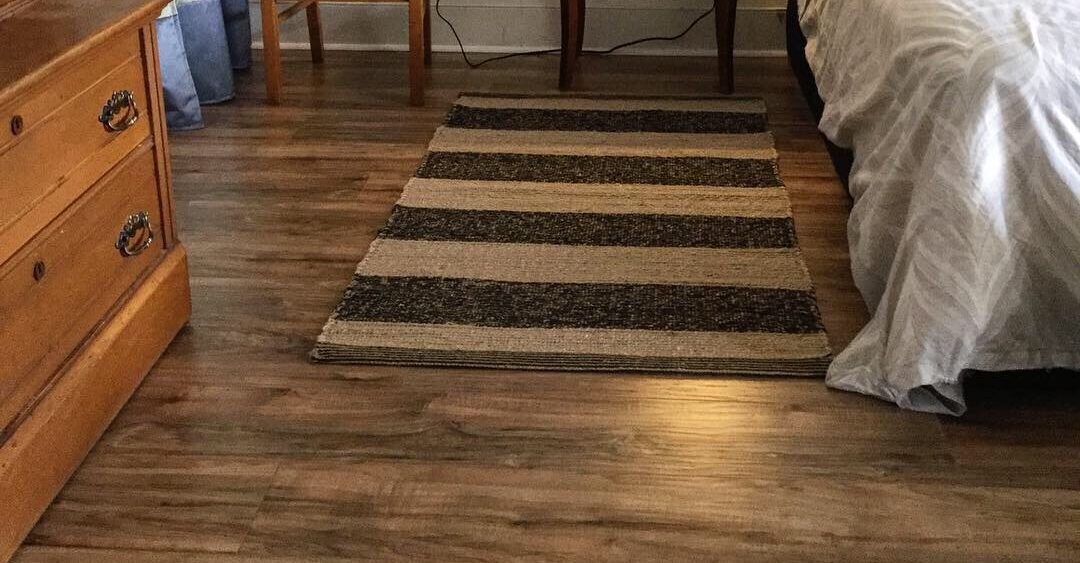
And then there were the steps.  First thought was to do without a stair nose but we didn’t think we could make it work so my wife searched the exact brand online, I ordered and it was here 
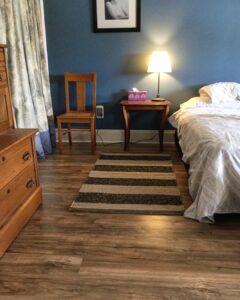
in 48 hours.  Exact colour match.

I didn’t like any choices for attaching it.  Gluing was really the only option as we didn’t want nails showing and the system it came with, well, it didn’t seem that it would hold very well.  

 I thought about different glues.  Wood glues and most others weren’t fast enough and I had no way, really, to clamp it down. I’m not a woodworker so, I admit there be ways I’m unfamiliar with.  

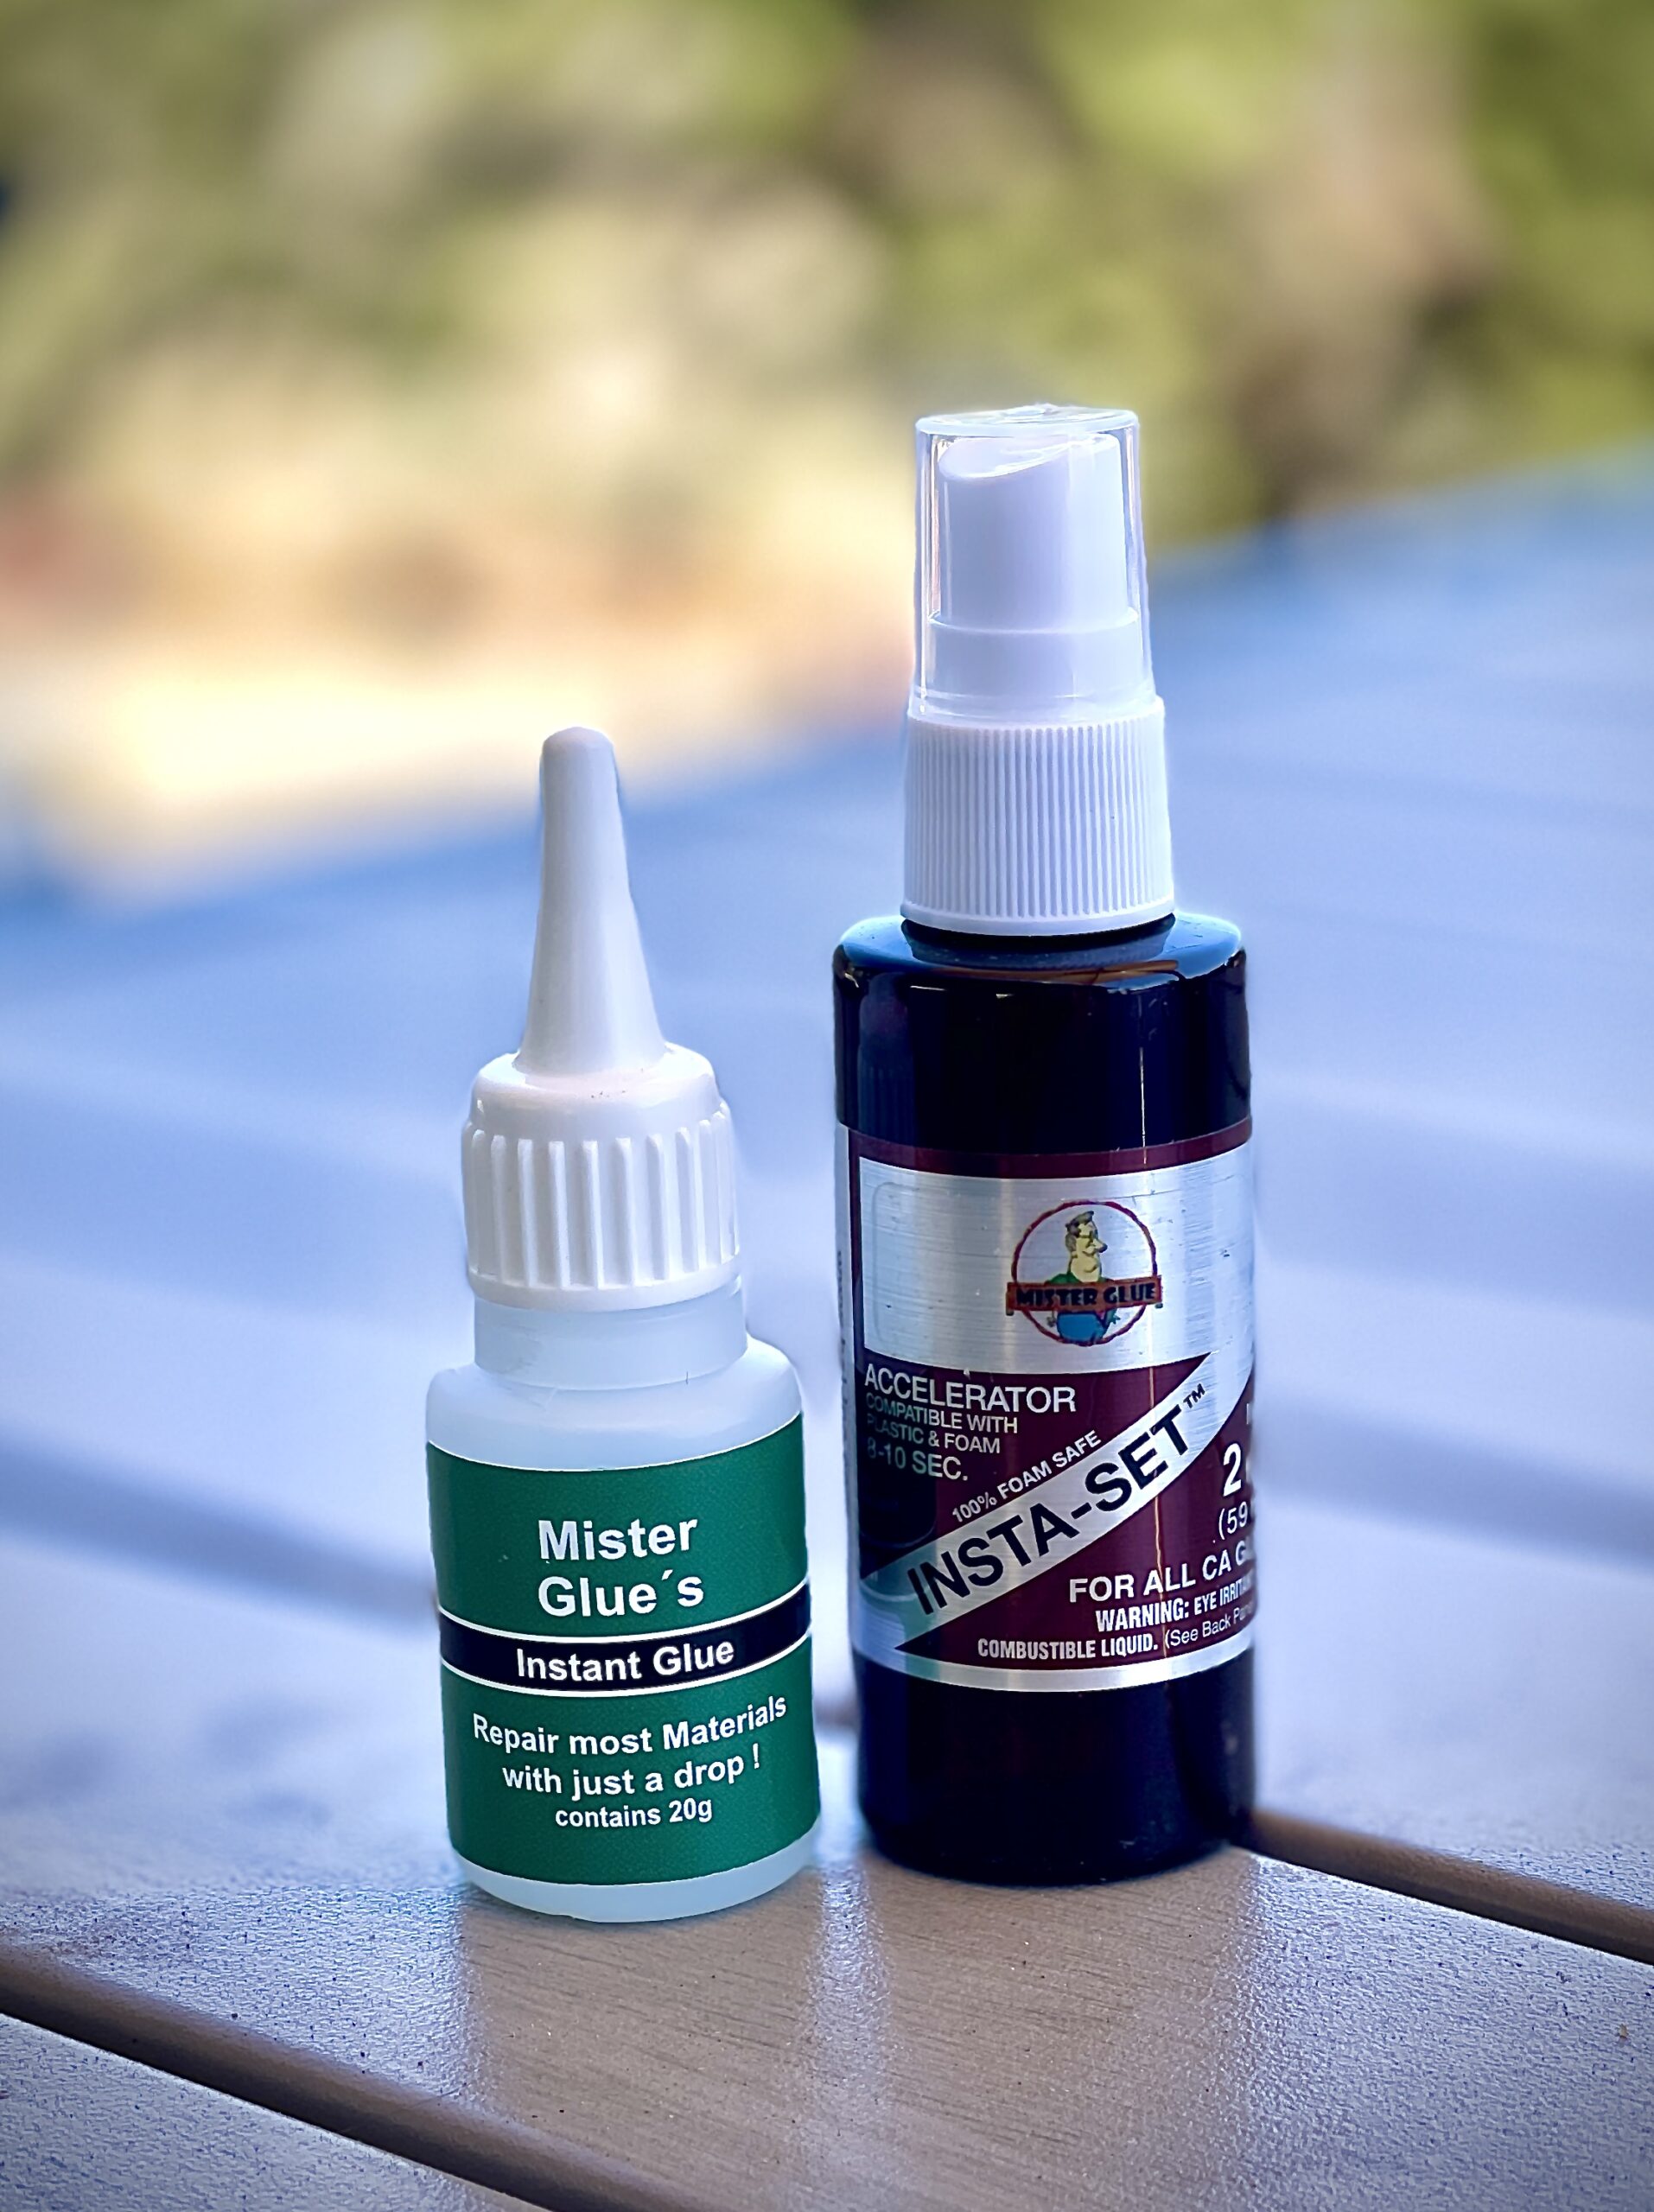
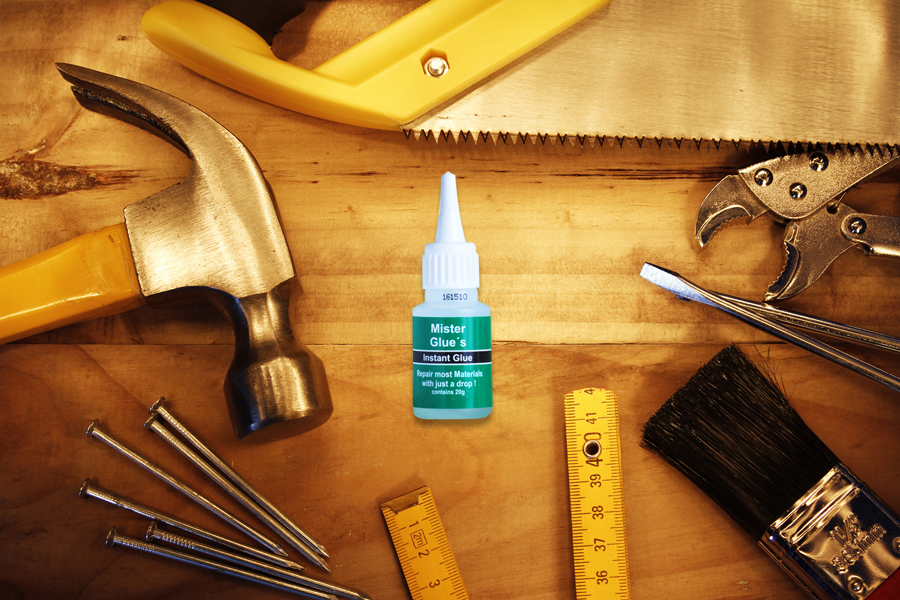
Anyway, I decided the best bet was using Mister Glue.  I have lots and know it works and this gave me another way to show it off. I honestly didn’t know how amazingly well it would work in this situation.  

I’ve been using, selling, etc., Mister Glue for 20 years and am still sometimes stunned at how solid the bond can be.  

You can watch the video below.  Within a few short seconds of putting the two pieces together, they would not come apart for anything.  

I will outline the sequence here in case the video is not clear.  

First of all, wood that has been sitting around for a while can be incredibly dry.  I’ve done small projects with Mister Glue where I put the Accelerator on one side then applied Mister Glue to the other, put the pieces together and… nothing!  The glue had soaked completely into the wood before I could get the parts together.

So, the first thing, as this wood was incredibly dry, was to lightly mist the surfaces with water.  You don't want the wood wet; just enough so that the glue does not soak in.  If you feel you have applied too much then just let sit for a bit to soak in.

A note here about cyanoacrylates, of which Mister Glue is one: they react to surface moisture.  They can pull from the air if necessary but on materials like terra cotta or wood that is very dried out, you may need to add a bit of moisture.  

The second step is to apply the Accelerator to one side. One side only.  For this application it took several minutes.  The brush is very small.  My suggested (afterwards) pouring some into a small bowl and using a small paint brush.  There is no rush.  You want to let it be exposed to air for at least 30 seconds anyway. In this case some parts were exposed a few minutes.  
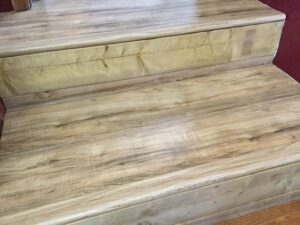
Didn’t seem to be a problem at all!

I applied the Accelerator to the ‘upper’ side.  The glue is runny so best to apply on the ‘bottom’.  

Apply Mister Glue to the other side.  The opposite side from where you applied the Accelerator.  I checked ahead of time to see where the contact areas were so that I only applied glue there.  No point applying the glue to areas that are not going to be touching the other side.  

Put a thin bead along each area.  You want enough that when you  press the two surfaces together they will squeeze the glue to cover the whole surface.   But you don’t want too much squeezing out.  

The tighter the fit, the better the bond!  So make sure that the two pieces fit well before applying the glue.  And make sure you know how you are going to fit the pieces together.  No second chances.  Practice first!

This stuff is way, way too fast!  

Once together, you are NOT getting it apart!

You can see how quickly it set in the video.  I start banging my hand and fist against it trying to move within a few seconds.  It didn’t budge.

This was so simple and so quick to bond.  It is incredibly solid.  This was needed because that edge is going to take a heck of a beating over the next 20-30 years or so.  

I’ve glued wood together and tried separating it after some hours and the wood generally tears.

Please feel free to email me if you have any questions. 

The order page has numerous options for different combinations: glue, accelerator and Uncure.

Posted by Martin in blog, MISTER GLUE USES, Wood Glue, 0 comments
Resin Antlers – Lamp

Resin Antlers – Lamp

Resin Antler Lamp

People bring me things to fix.  

I've recently had a number of people ask about Mister Glue and resin.  Does it work?  Well, the best way to tell you is to show you.  In the video below, you can see that a small piece of the resin antler broke off the lamp.  Make sure that the surfaces fit together well and that you know where they are going so that you don't have to mess with it too much once you have the glue applied.  Here, I applied the Accelerator to one side first. Give that about 20-30 seconds exposed to air before you apply the glue to the other side.  Once you have applied Mister Glue to the other side, you can push the two pieces together.  You don't have to rush but don't wait around forever either.  The less moving around once the two pieces are together, the better.

Press firmly together.  The tighter the fit, the better the bond.  You want to make sure that the whole surface is covered with the glue so often some may squeeze out.  If this happens, try and let set up and gently scrape off.  That way it won't smear.  Also, place a piece of cardboard or something (not cloth) underneath.  If it drips onto a nice table surface or something, you won't be happy.  We can't have that.

The best package for resin repair is:

Combo Package 1(One Glue/One Accelerator)
Package includes one bottle of Mister Glue and One bottle of Mister Glue's Accelerator
Price: $34.00
Price: $32.00

Also, in the video I only held the two pieces together for about 10 seconds.  Not all resin is created equal.  I recommend 20-30 seconds.  And let it sit and fully cure before you start banging it around or flicking your finger against it like I did here.  Do as I say, not as I do!

Watch this short video and you can see how simple this is:

Posted by Martin in blog, MISTER GLUE USES, 0 comments
Woodworking and Mister Glue

Woodworking and Mister Glue

Preparation

Make sure that, like using any other types of glue products, the surfaces that you are going to glue together are cleaned properly.  Also, you can paint over Mister Glue and other types of cyanoacrylates but usually they will not stain. So, you need to protect other surfaces.  This glue is pretty runny, so it can drip onto other surfaces if you are not careful.

So, clean and protect wood surfaces. 

Application

I’ve included three videos on this page.  You can see in the video where I stand on the two boards after glueing them together with Mister Glue, that I’ve only let it set for a minute or so.  I’m actually pressing the boards together with my feet for only 23 seconds.  The set time is generally 20-30 seconds.  Full cure time is several hours.  I’ve glued boards together like that where I didn’t think it worked so set aside and gone back a few hours or a day later and could not get the two pieces apart to save my life. 

So, standing on the two planks right after gluing together looks like fun and all but it is one of those “Don’t try this at home!” types of thing. 

In the case of the two boards, I had to mist them with water and let that moisture soak in before applying the Accelerator to one side and Mister Glue to the other.

Also, please note, that when I applied the glue to the board that I was standing on, that I did not spread the glue after running a bead on the wood.  Spreading it first after applying the glue and before putting the two surfaces together in technical terms is a ‘no-no’!  Don’t do it.  It will weaken the glue.  Just put enough on the wood so that it will spread.  You do want the surface mostly covered but the thinner the bond the stronger.

With Mister Glue’s Accelerator it is not really spreadable on wood.  Brush it  on with the small applicator and it soaks in.  If you were to use on a slick surface, you could spread to cover the surface.  Apply the Accelerator to one side and apply it first.  You want to allow 20-30 seconds exposed to air before you press the glue sided surface to it.  And with Mister Glue you don’t want to wait. 

Note: A point here on adding a bit of moisture.  Some will caution and warn against having too much water/moisture around cyanoacrylates (Mister Glue, Super Glue) but remember they need some moisture to operate.  BUT very small amounts.  I sprayed the board with a mist then wiped with a paper towel.  It would not have hurt to leave a bit if the surface is too moist. 

Mister Glue should be treated in many ways the same as any other cyanoacrylate.  Superglue, Crazy Glue you can find in stores.  Other products like Pasco Fix and Mister Glue you will generally find at various types of trade shows or online.  The latter will not dry out in the bottle and will last for years as long as they are kept in the freezer (ideally) or the refrigerator.  The later are generally stronger and won’t break down over time as they have had the solvents removed. Mister Glue and products like it and Pasco Fix are made in Germany and are distilled several times to remove any solvents.  This is why they won’t dry in the bottle and why the bond won’t go brittle after a time. 

Cyanoacrylates react to very small amounts of moisture in or on the surface of the materials that you are attempting to bond together.  Super glue types of glue are also extremely fast to bond. 

Mister Glue Wicks In Wood Joints

One of the biggest problems with Mister Glue and other cyanoacrylates is because of the speed of bonding, there is often very little time to reposition the two surfaces.  In this second video below you can see how I’ve gotten around this.  I’ve placed the two pieces of wood together in a table vise and applied the glue to the edge and let it wick in.  Which it does extremely well as you can see from the resulting bond.  In this video, I probably should have, but didn’t, put a bit of moisture on the surfaces beforehand. 

Mister Glue on its own will not fill gaps.  It is too thin, too runny.  But it works in combination with all types of materials as a filler.  In the  video below you can see how I’ve built up a loose screw hole with layers of sawdust and Mister Glue.  With no discernible wait time, I put a screw in the glue/sawdust filled hole and right afterwards tried to wrench it out.  No go.  It was solid.  One could take a bit more time with this and tamp down each bit of sawdust before adding glue.  In this particular case not a huge amount of glue was used.

If you have some really fine sawdust, use it for repairing a loose spindle in a chair.  Or a chair leg. I’ve used both sawdust and baking soda for this.  The spindle or leg is wobbly.  Feed some fine sawdust or baking soda into the gap.  Just keep shaking it in there, working it in until the gap is completely filled.  Then add a few drops of Mister Glue all the way around.  It will wick in very nicely.  Within seconds you have a solid, no longer wobbly chair or table.  The wood fill done this way will not shrink or crack over time.

You are not likely going to do use this glue to fill large areas.  But it is great for harder to reach areas and small cracks and splits.  You can use to build up a small area that has been chipped or gouged.  You can tool and sand afterwards.  If you are going to use this way, for gouge or some such, shape the wood filler as much as possible beforehand.  It goes hard almost instantly so there is no use trying to shape it with your fingers as you would some putty types glues.  And your fingers would likely be rather solidly glued to the item you are trying to repair, anyway. 

As mentioned earlier, although it can be painted, the wood fill made this way with Mister Glue will not usually take a stain.

Use a Finishing Glue

There is a very decent article on Canadian Woodworking Magazine on using this type of glue for finishing surfaces as it does dry clear.  Mister Glue has a ‘thin’ viscosity so works well for this.

General Info On Mister Glue

Mister Glue is water resistant so if you are bonding wood that will be exposed to the weather it works well.

A couple of extra points.  I have read on some websites that one should not put cyanoacrylates back in the freezer or refrigerator after opening.  As long as you burp the bottle a tap it down so there is no glue left in the spout, all should be good. Occasionally, the spout clogs with some dried glue.  Peel it off with your fingers.  Take care not to glue your fingers together.  You will get a little on your fingers when you do this but that will come off fairly quickly and will do you no harm in the meantime.  If you have been careless and the cap removes the spout when you take it off, use a pair of needle nose pliers to take the spout out of the cap.  Then get a narrow screwdriver or knife in there to scrape out any dried glue. If the cap seems to be glued on use a pair of pliers squeezing to gently crack the glue inside. This should enable you to get the cap off. Again, clean off any dried glue and be more careful next time.

There is more on care of Mister Glue here.

And you can purchase at our Shop page.

Posted by Martin in blog, 0 comments