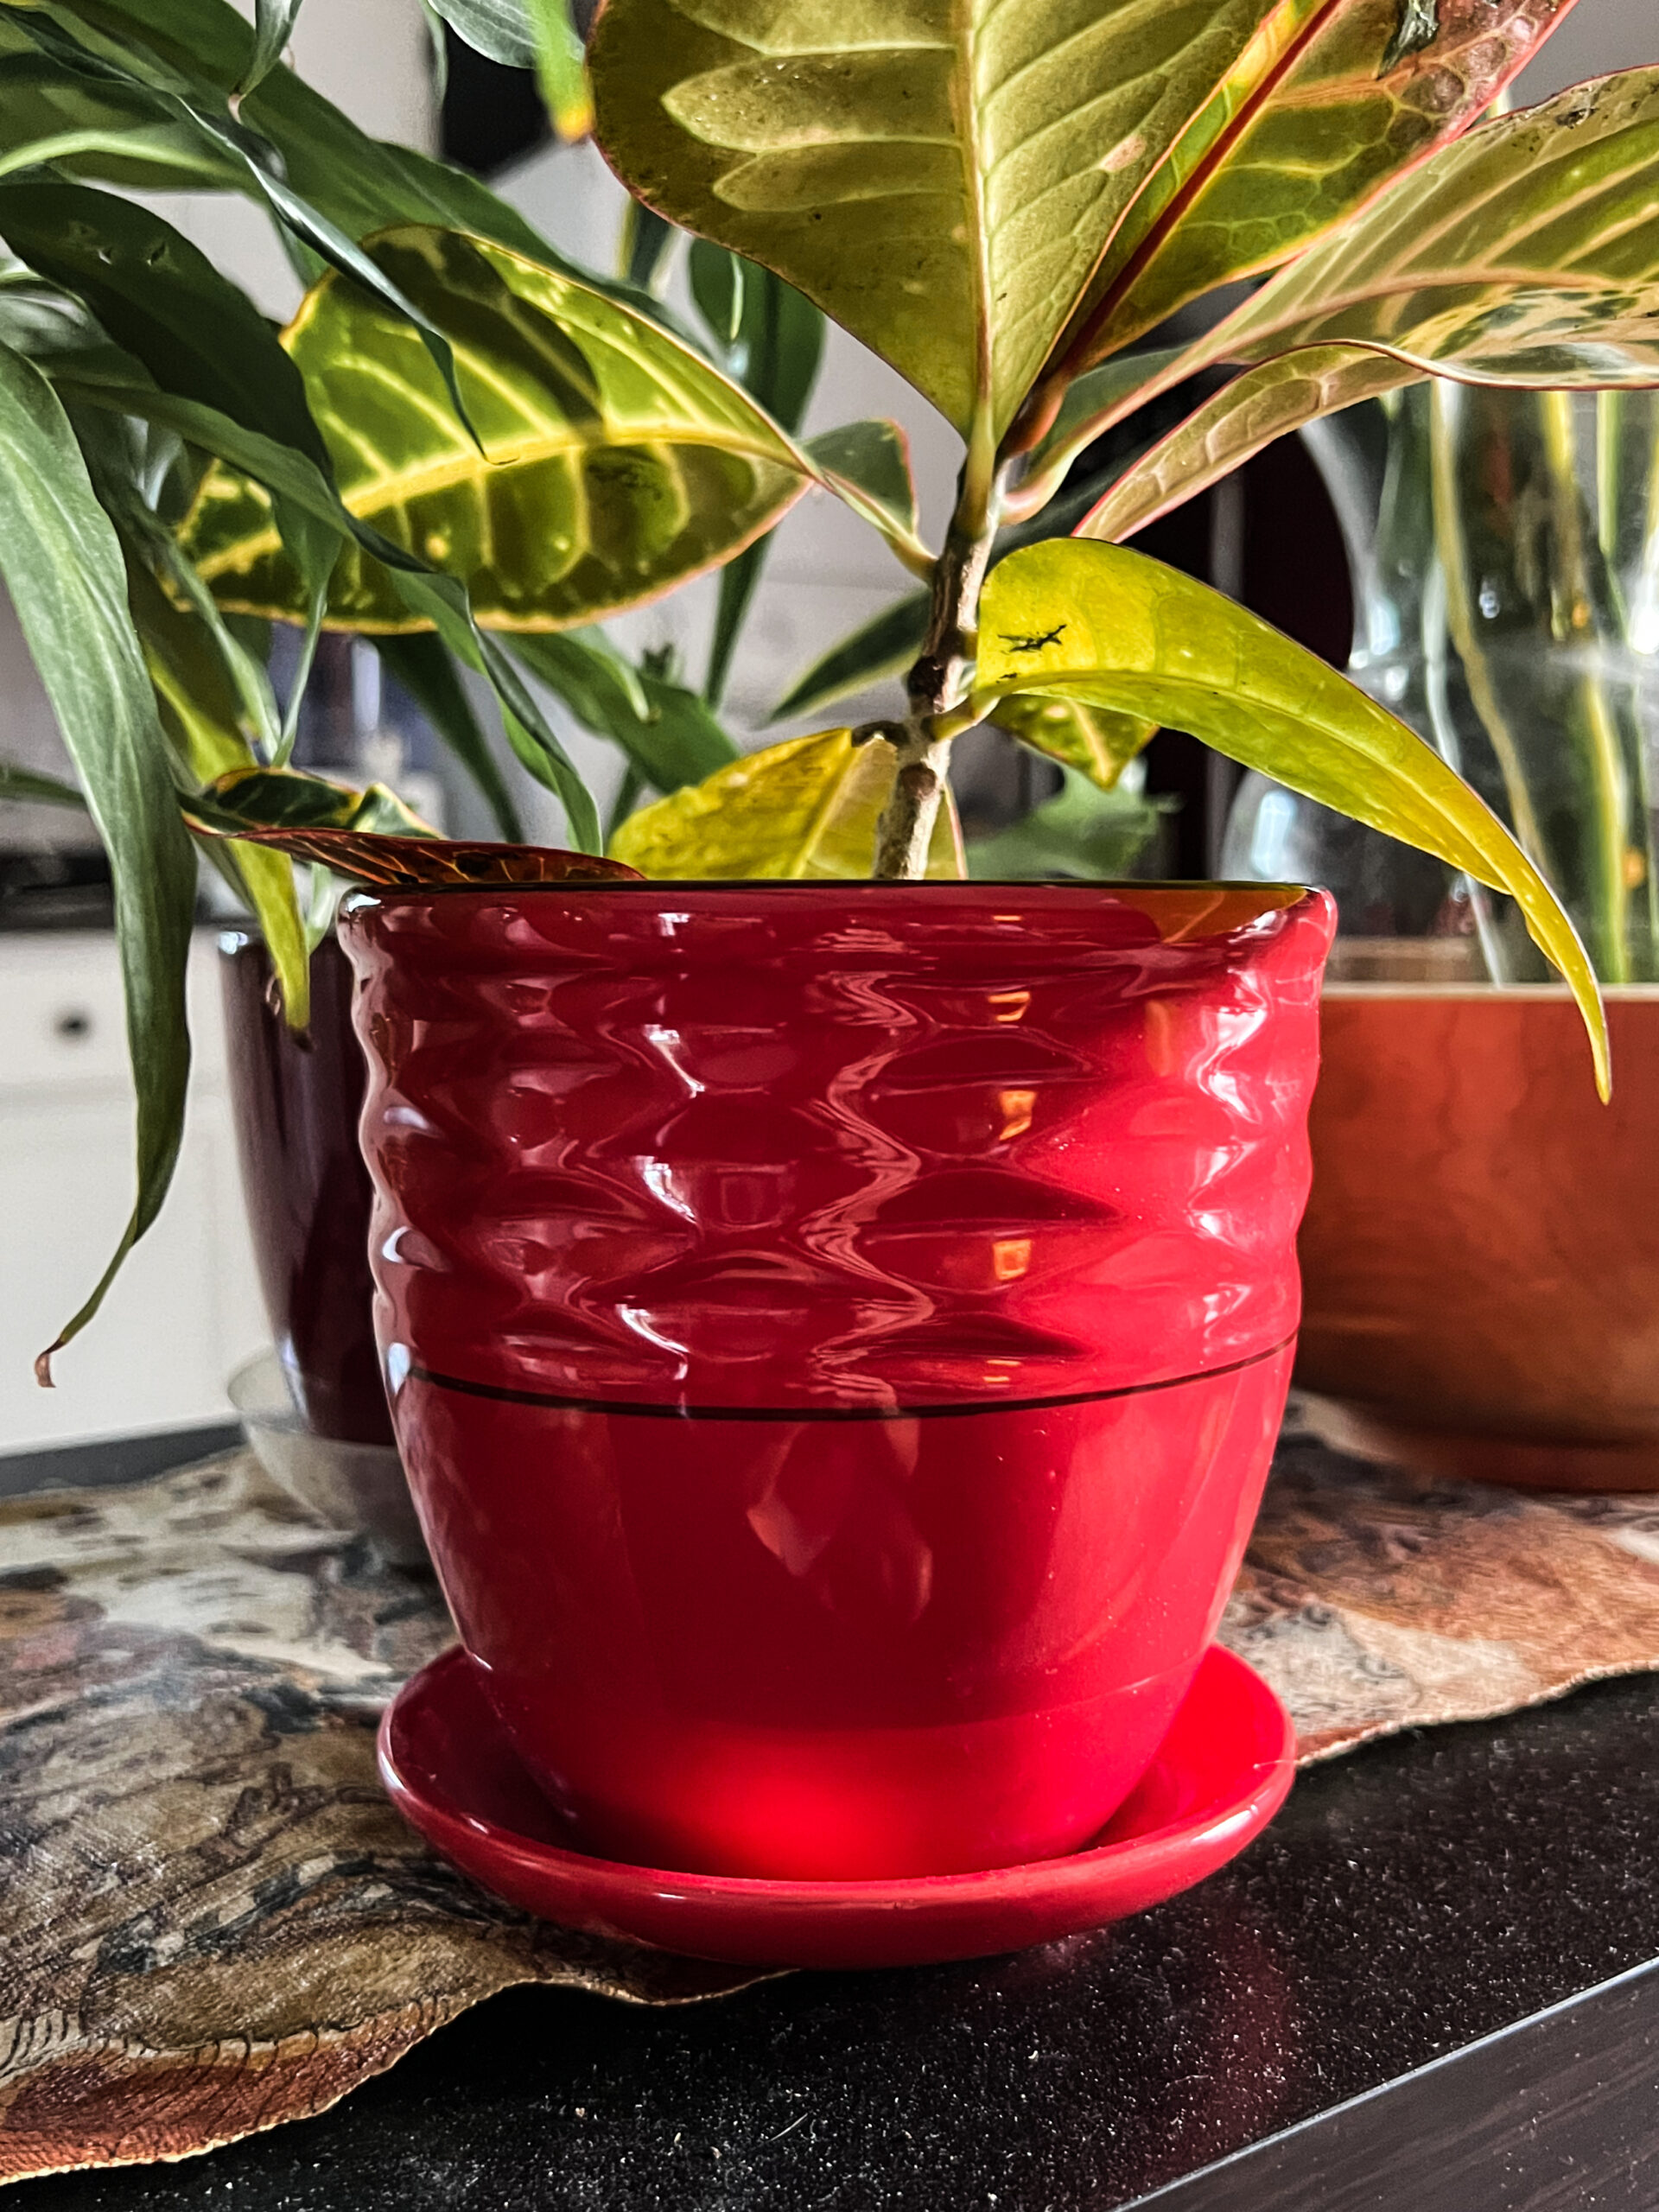
Ceramic Planter Repair
Fairly recently we got a new kitten. It has tons of energy and has kept me busy repairing things. Luckily I have lots of glue.
There are several steps needed here gluing the bits and pieces of this planter back together.
Step by Step
Honestly, this was not my best job ever. I was a bit hurried and did not practice enough. Thus, one of the joints is actually noticeable. You don’t have a lot of time to mess around with this product (Mister Glue). It is extremely strong but also very fast setting.
Clean the surfaces. All you want to do it clean off any dust and debris. In this video I used a can of pressurized air. Same stuff you might use to clean your computer.
Then try putting the two surfaces together. Practice. This is before you apply the glue or Accelerator. Do it several times so you know the best way. If you have several pieces, you may also want to figure the best sequence.
In this case I had two large pieces which I glue on first. Then there were three small pieces that I glued together into one. Then I was able to attach that all at once.
Important:
There are likely other things I do because I have used the glue a lot but this one is fairly important. When you are running a strip of glue along an edge, don’t go past the point where it is going to be attached. If you do that it will minutely add to the surface and the next piece won’t go in tight enough.
You will see in the video that when I’m applying the glue I don’t go past the ‘corners’.
If any glue squeezes out the edges, just leave it and use a sharp edge to gently scrape off once dry.
There is a lot more info throughout the website. There is a search function and a FAQ (Frequently Asked Questions) page. If you can’t find what you are looking for or an answer to your question, go to the contact page and email me. Or you can comment.
